
Add groups
Last Updated: April 20, 2026
You can segment users in the platform by assigning them to different groups, making it easier to target specific people with your communications.
This guide outlines how to add new groups in the Safeture web portal.
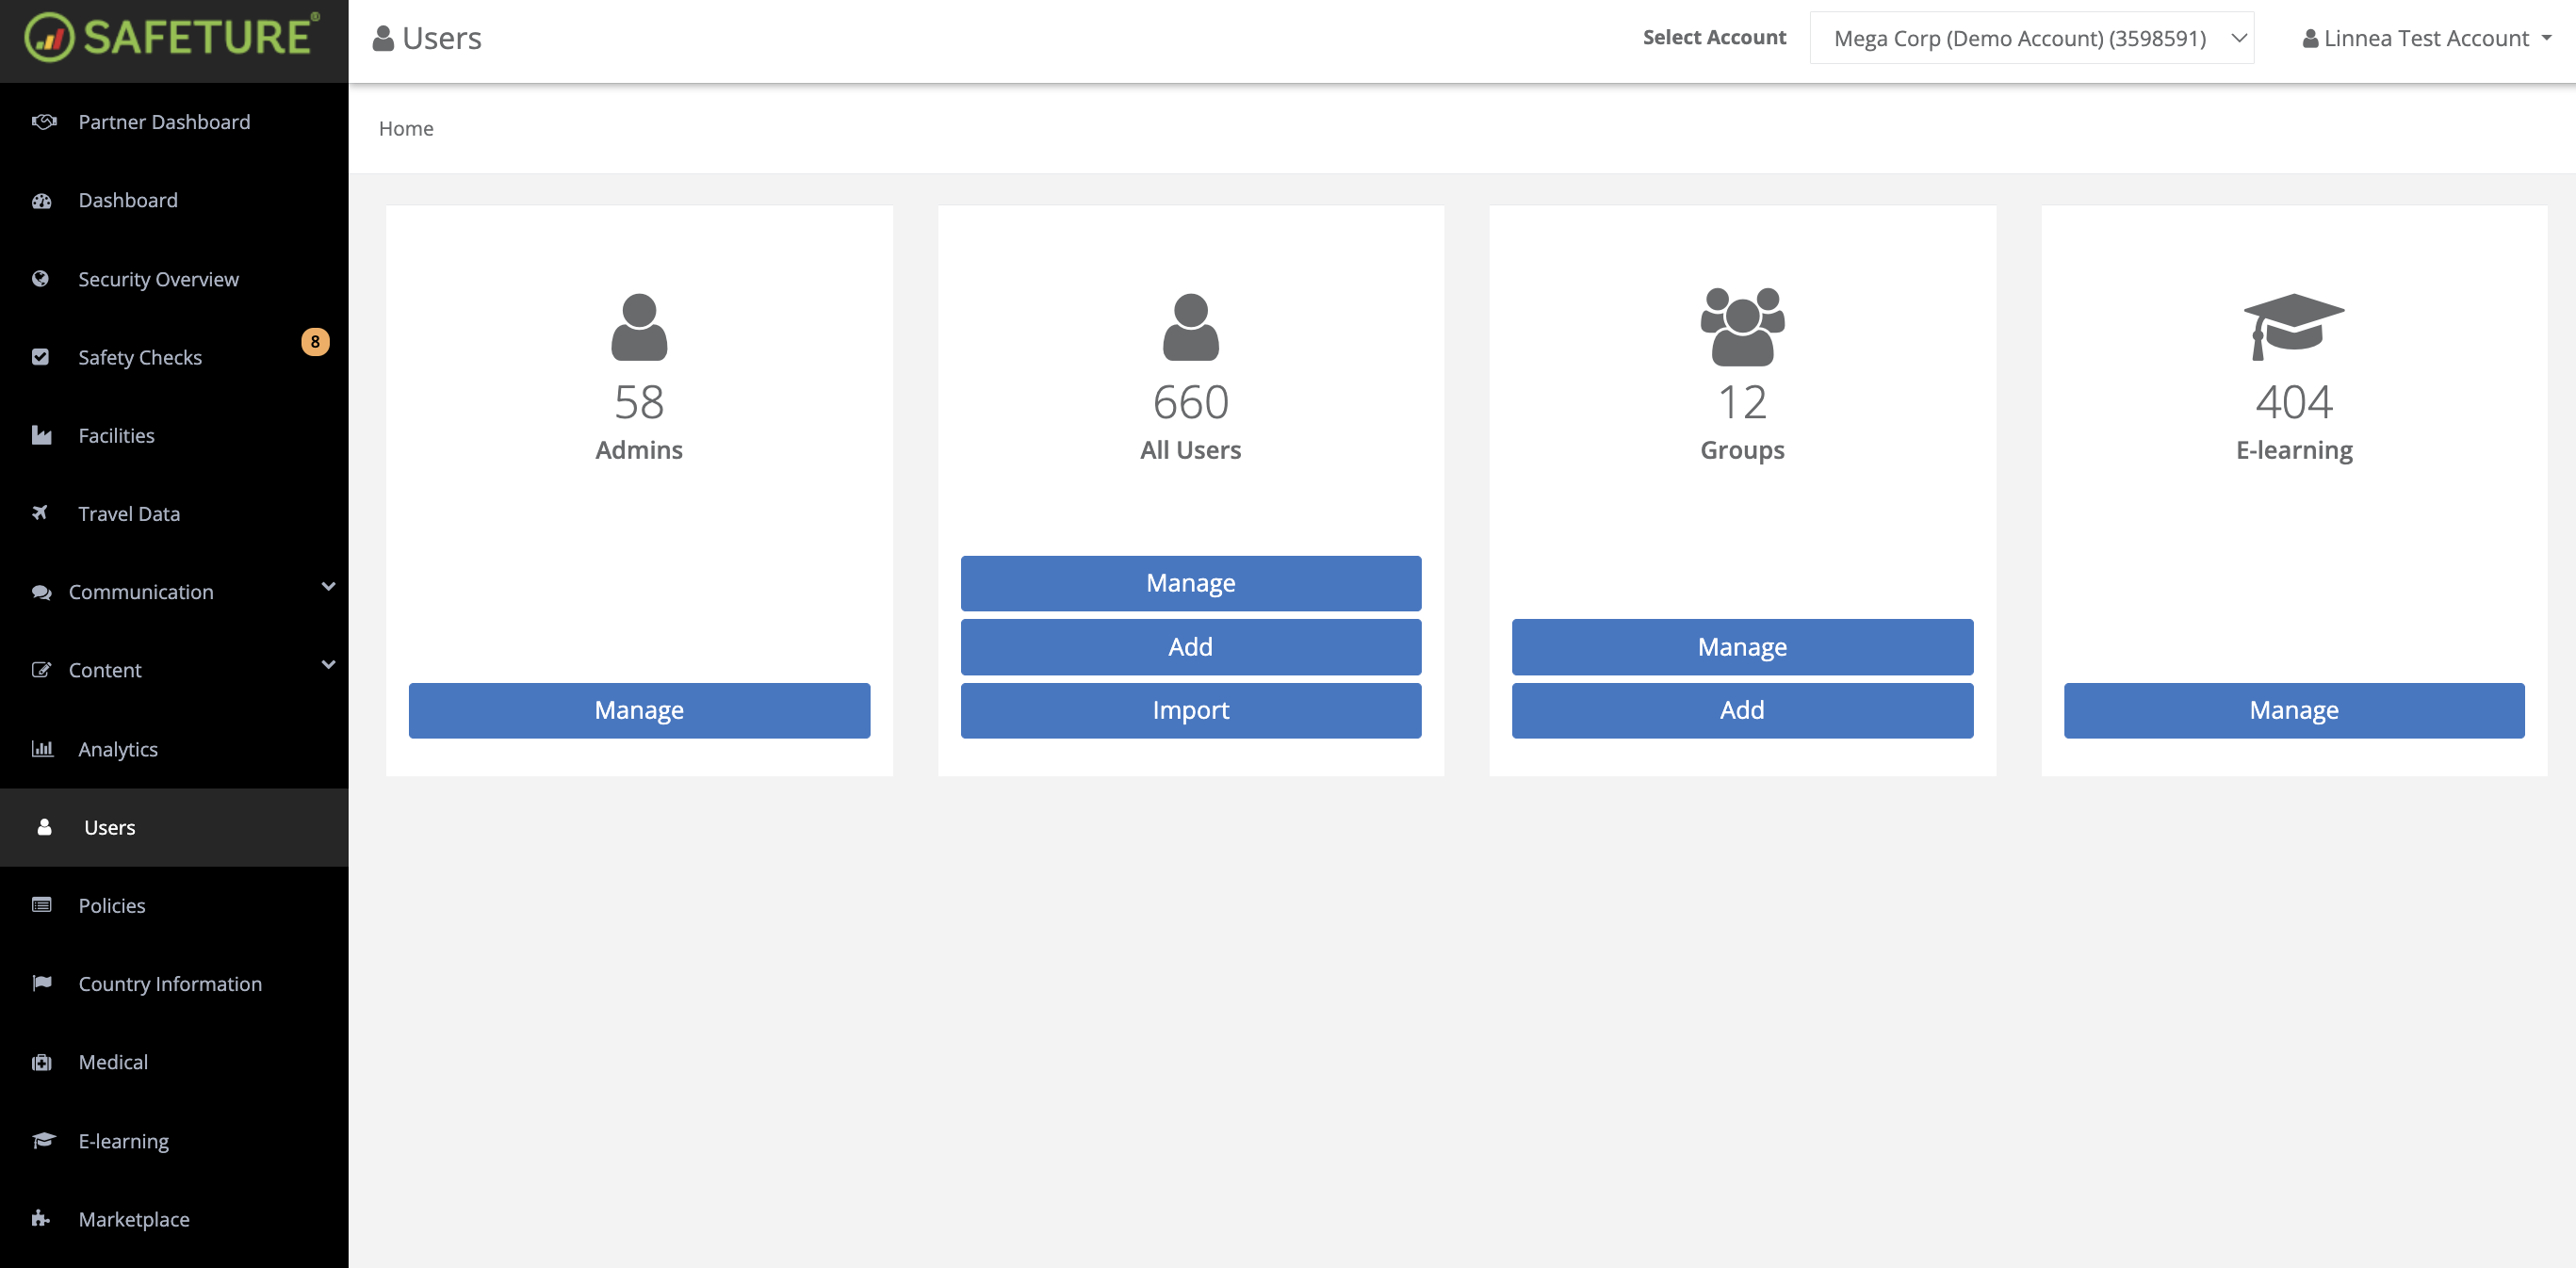
1. Navigate to 'Users'
Go to the 'Users' section in the web portal menu.
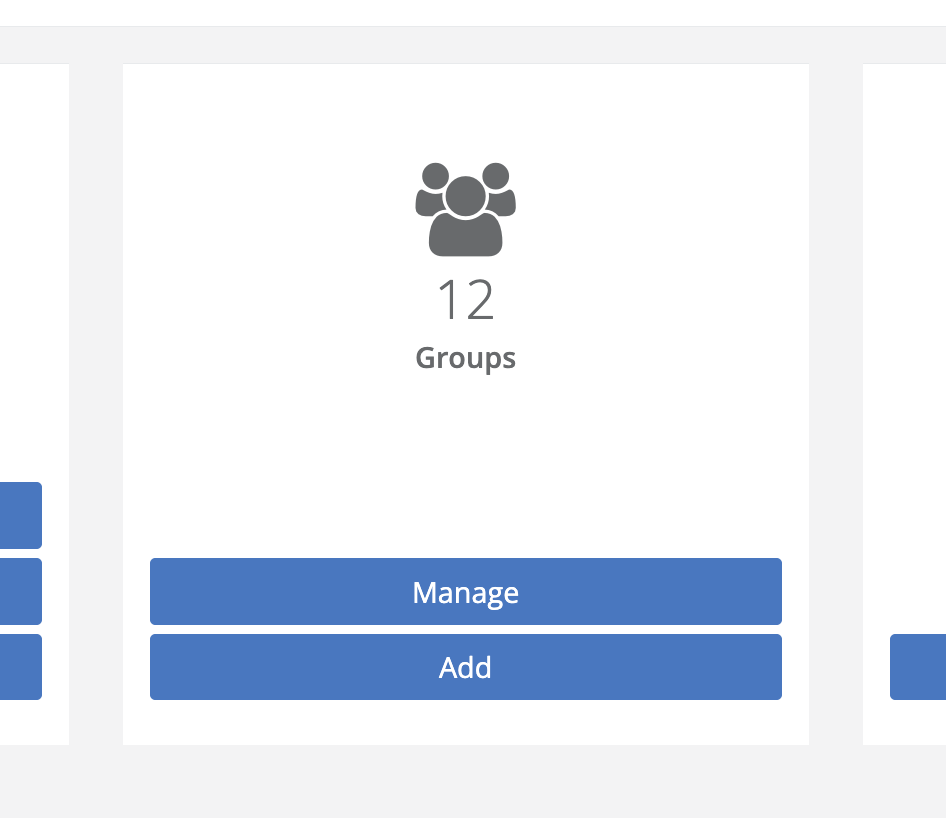
2. Add Group
Click on “Add Group” to create a new group.
3. Configure group
Enter a name for the group.
Optional settings:
VIP group
Select this to make the group a VIP group. All members of a VIP group are automatically marked as VIPs. If a user leaves the group, their VIP status is removed — unless they were already assigned VIP status individually before joining.Default group
Select this to automatically assign the group to new employees who are added to the platform without a group.
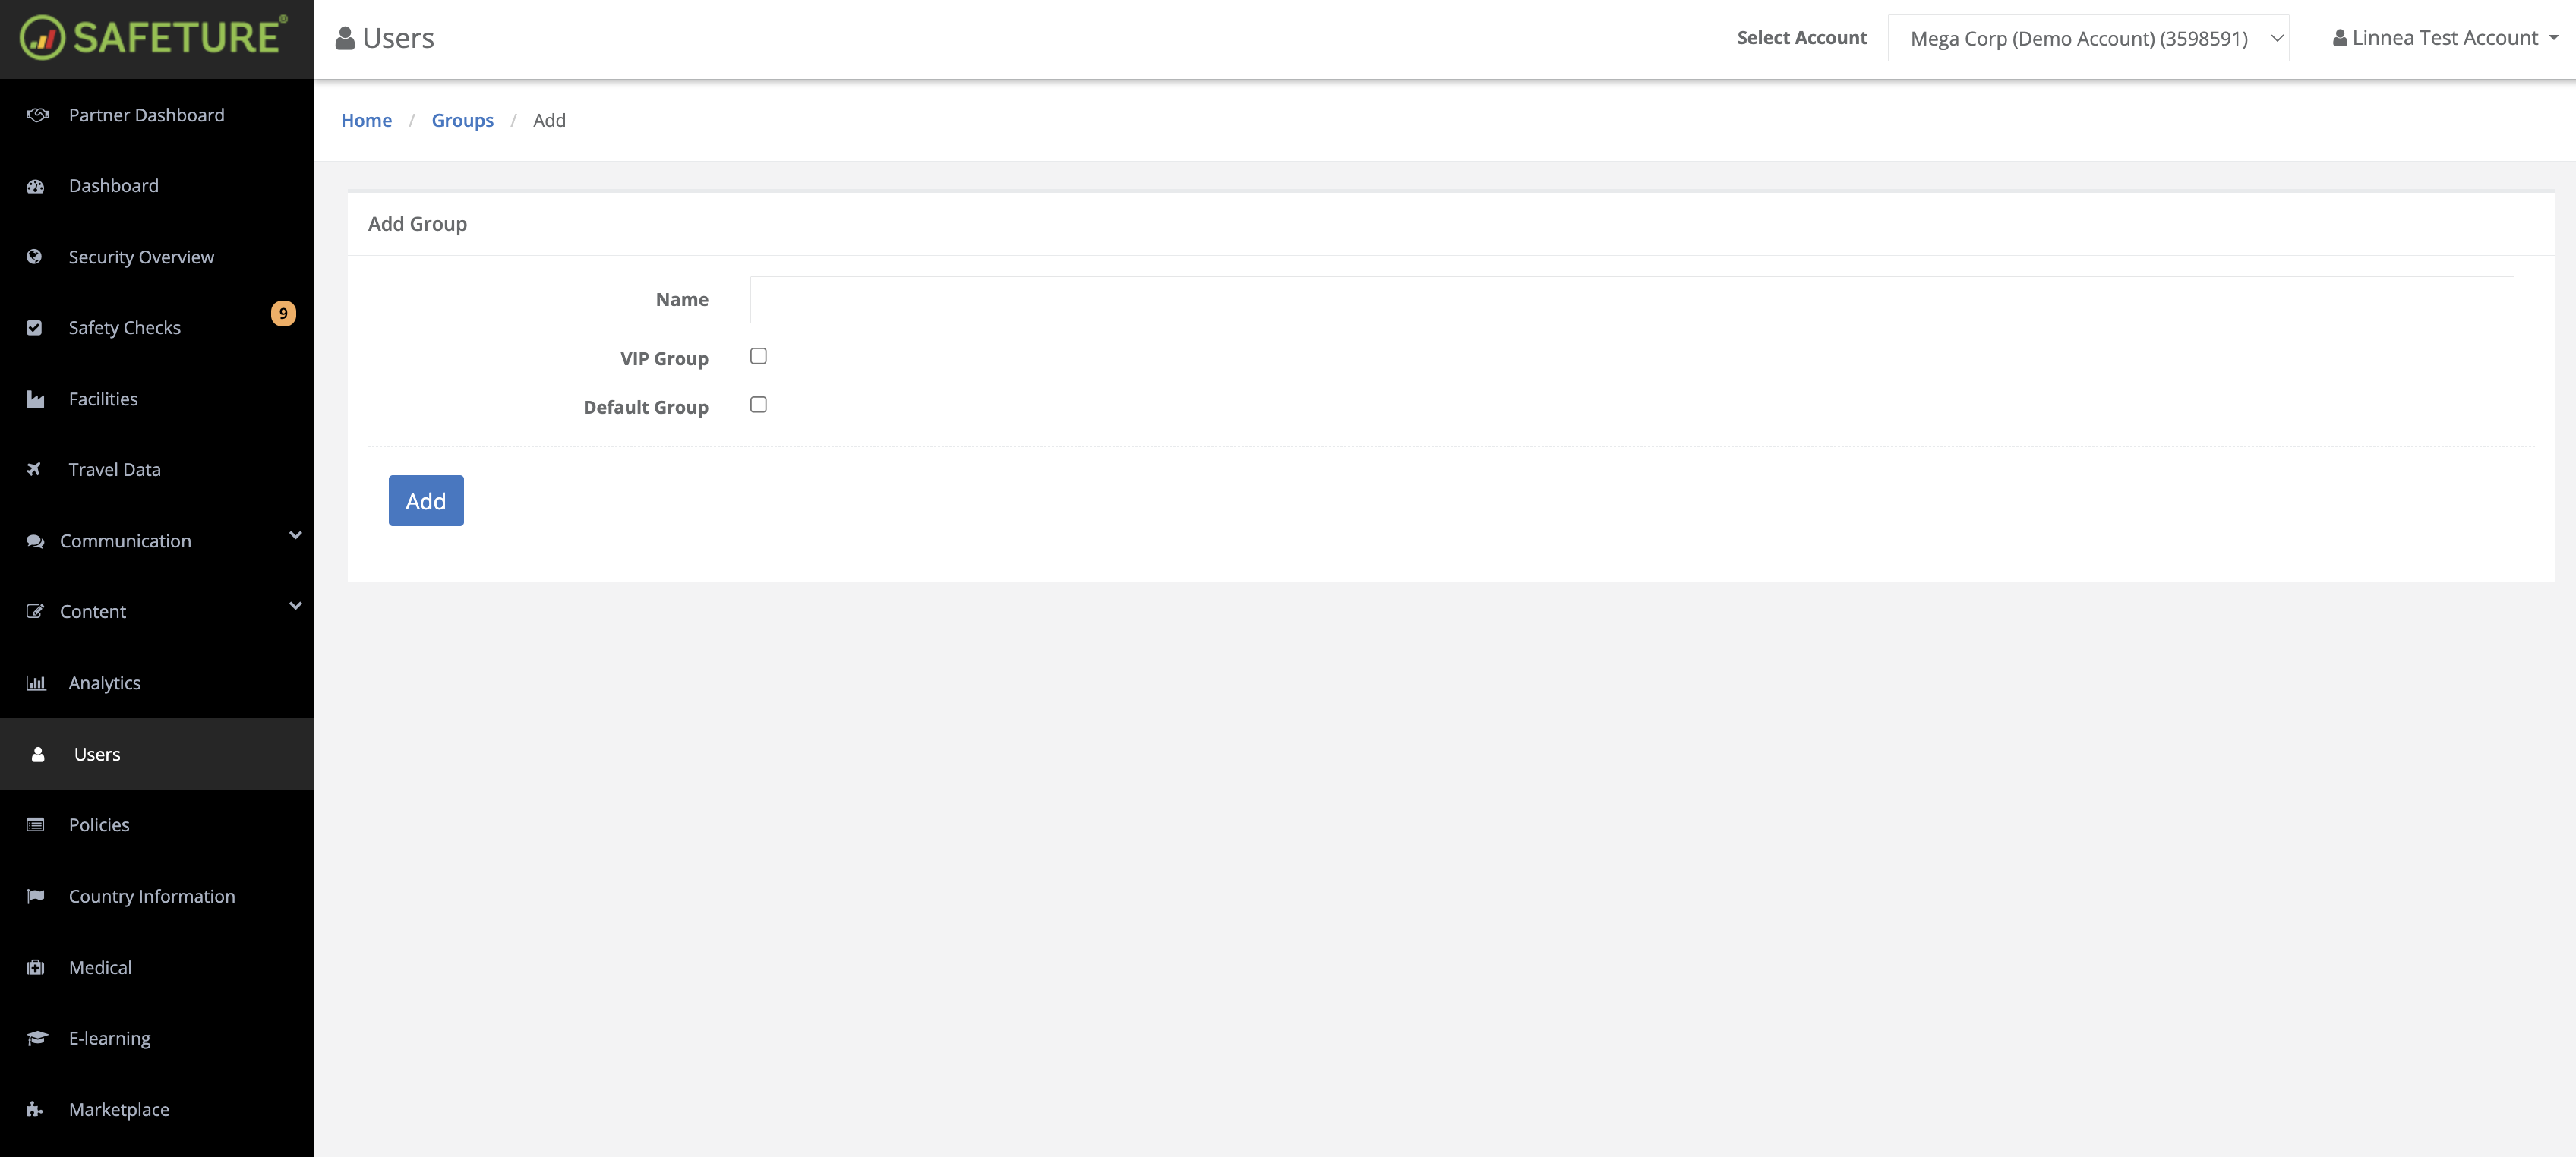
4. Save the Group
Click the "Add" button at the bottom of the page to save the group.
5. Add users to the Group
To add users to the group, navigate to the User module. Under “All Users”, click “Manage.” From the user list, locate the user you want to assign to a group and click “Edit.” On the user’s profile page, scroll down to the “Group” section and select the right group.
Finally, click “Save” to apply your changes.