Policy Bulk Upload Guide
This guide outlines the steps to add new policies in bulk using the CSV upload feature in the Policies Module. We'll walk through how to download the CSV template, prepare the file, and upload it. Let's get started!
1. Access the Policies Module’s bulk import section
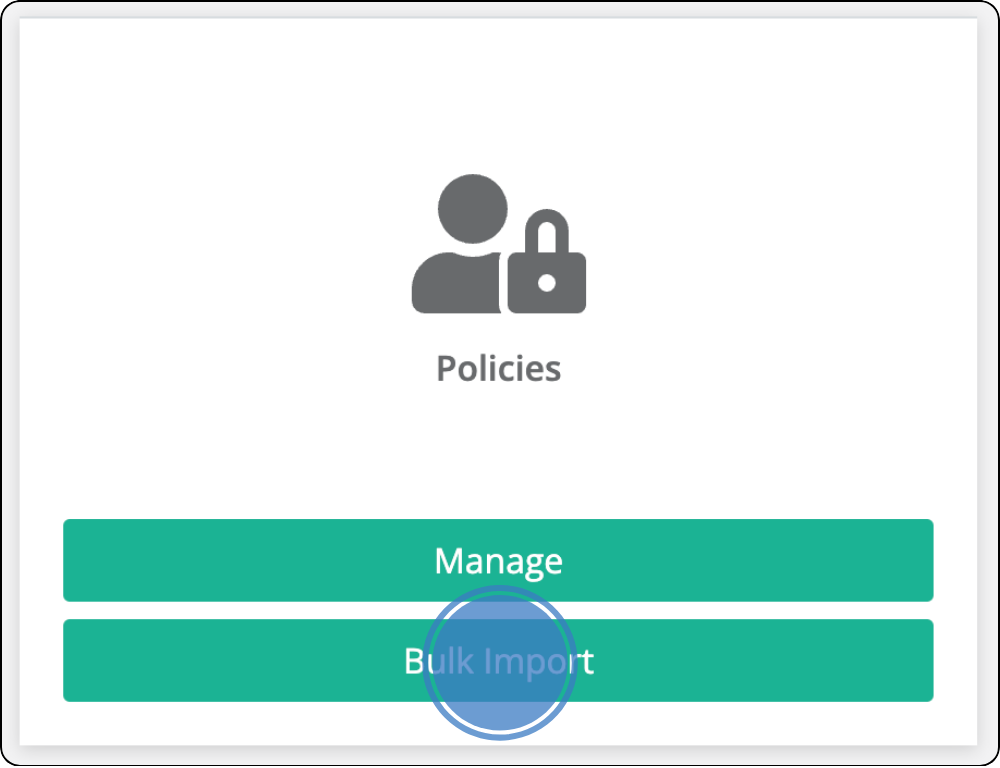
In the web portal, select ‘Policies’ from the left side menu. Once in the Policies module, click on the Bulk Import option to begin the process.

2. Download the CSV Template
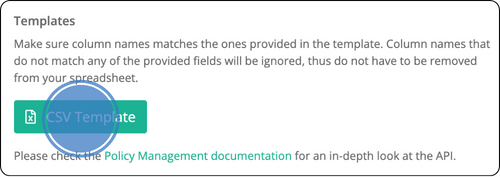
We recommend using our CSV template to create your file. Click the green CSV Template button to download it.
Please note: If you encounter issues with the CSV template, you can use an Excel template. Just make sure to save it as a CSV UTF-8 (Comma or Semicolon delimited) (.csv) before uploading.

Groups: This column is not required. It refers to client groups, which are pre-configured during set-up. The format is a UUID. This field supports several rows within the cell. If you wish to add several different groups to the same Policy number, you should do so by using a line break within the cell. Click here to see how to create a line break within a cell.
Country: Required column. Country should be entered in two letter country codes (ISO 3166-1 alpha 2).
Description: This column is not required. A text field that can be used to segment and filter Policies.
Url: This column is not required. This field is used as metadata for Policy Holder. The URL is used to display an icon in e.g. the Partner Dashboard as a visual guide when filtering, etc.
Start Time: Required column. States the date and time when the Policy takes effect. Supports YYYY-MM-DD or YYYY-MM-DDTHH:MM:SS+00:00 (according to ISO 8601 format). This field determines when users can start registering in the app under this Policy.
End Time: Required column. State the time and date the Policy expires. Supports YYYY-MM-DD or YYYY-MM-DDTHH:MM:SS+00:00 (according to ISO 8601 format). This field determines when the users will be logged out from the app.
Email domains: This column is not required. Supports both email domains and explicit email adresses. Email domains should be entered without @.
This field supports several rows within the cell. If you wish to add several different email domains to the same Policy number, you should use a line break within the cell. Click here to see how to create a line break within a cell.Identity Provider Id: This column is not required. Refers to the Identity Provider the Policy should be connected to, which is pre-configured during set-up. The value is an UUID.
Resource Titles: This column is not required. A text field that displays the title of a Resource (available for app and web users). This field supports several rows within each cell. Please note, the fields Resource Titles, Resource Description and Resource data are correlated. If one of these cells contains several rows (line breaks), the other two cells in the same row must contain the same amount of rows (line breaks).
Resource Description: This column is not required. A text field that describes the details of a Resource (available for app and web users). Please note, the fields Resource Titles, Resource Description and Resource data are correlated. If one of these cells contains several rows (line breaks), the other two cells in the same row must contain the same amount of rows (line breaks).
Resource Data: This column is not required. A text field that holds the details of a Resource, normally a URL to an external web page (available for app and web users). Please note, the fields Resource Titles, Resource Description and Resource data are correlated. If one of these cells contains several rows (line breaks), the other two cells in the same row must contain the same amount of rows (line breaks).
Keep the column headings in the first row. Delete the placeholder information in the rows below and proceed to populate the file with the Policies and information you wish to import. Please note! If you upload a row with an already existing Policy Number, the data for that row will overwrite the previous information, including if the new data is empty cells.
Once the file is finished, make sure you save it as a CSV file: CSV UTF-8 (Comma or Semicolon delimited) (.csv)
3. Prepare the File
Open the downloaded template in Excel or another CSV editor. The file includes the following columns:
Policy number (Required): Must be at least 8 characters and unique for each row. Supports alfanumerical characters. If you wish to add several different email domains to the same Policy number, you should do so by using a line break within the cell. If you upload an already existing Policy number, the previous information will be overwritten.
Name (Required): The name of the policy.
Groups (Optional): Pre-configured UUIDs for client groups.
Country (Required): Use two-letter country codes (ISO 3166-1 alpha-2).
Description (Optional): A text field for filtering or segmenting policies.
URL (Optional): Metadata for the policy holder, used in dashboards.
Start Time (Required): The date and time when the policy takes effect (YYYY-MM-DD or YYYY-MM-DDTHH:MM
+00:00).
End Time (Required): The date and time when the policy expires.
Email domains (Optional): Enter domains without the “@”. Multiple entries can be added using line breaks.
Identity Provider ID (Optional): UUID for the Identity Provider.
Resource Titles, Description, Data (Optional): Used for app and web resources. Ensure each row in these fields corresponds if using line breaks.
Ensure that your file maintains the column headings in the first row and only delete placeholder data. Populate the file with the policies and relevant information, ensuring that existing Policy Numbers will be overwritten with new data if included.
Once you're done, save the file as a CSV UTF-8 (Comma or Semicolon delimited) (.csv).
How to create a line break in Excel
Double-click the cell in which you want to insert a line break. Click the location inside the selected cell where you want to break the line. Press Alt+Enter (Windows) or Option+Enter (Mac) to insert the line break
Go to Bulk Excel Import
Now it’s time to upload the file. Go to the Policies module and click “Bulk Excel Import”.
.png?inst-v=b7e94029-27a5-4c63-ba24-baf21722992a)
Go to Import file
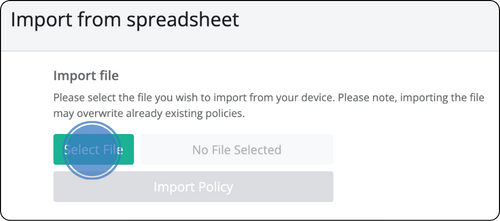
Under “Import File”, click “Select file” and choose the file you just prepared. Click Import Policy.

Import Policy
If your file upload was successful, a green box will appear with the message “Your file import was successful.” If the file import failed you will see either a red or yellow box with the following messages:
Your file import failed
Your file import failed because the file is not configured correctly. Reasons why your file import failed could be:
Incorrect file format: The file that was uploaded isn’t a csv-file
Misspelled headers: One or more column headers were misspelled. Please use our template.
File formatting error: Your file is wrongly formatted. By default it should be formatted by comma separation (“,”) or semicolon separation (“;“).
Ensure your file matches all of the criteria above and re-upload your file.
Your file import failed
Your file import failed because something is wrong with the file content. The row of the Policy that has triggered the error is indicated in the yellow box.
Reasons why your file import failed could be:
URL Is not a valid URL
IdpId is not an UUID
Ensure your file matches all of the criteria above and re-upload your file.
Contact information for support
If you have any questions or need support, please contact support@safeture.com
