
Security Overview
Last updated: April 20, 2026
Introduction to the Security Overview
The Security Overview section offers a visual representation of your organization's static and dynamic asset locations. By plotting alerts on the map, you can quickly identify potential threats and determine which assets might be at risk.
Maps views and information layers
In the Security Overview Module you can choose between several map views — including the Risk Assessment Map, Default Map, and Satellite Map — onto which you can add information layers to customize your view and focus on relevant information.

Click the information layers icon to customize the information displayed on the map
Map types
Default map
The default map displays a simple, standard map view.
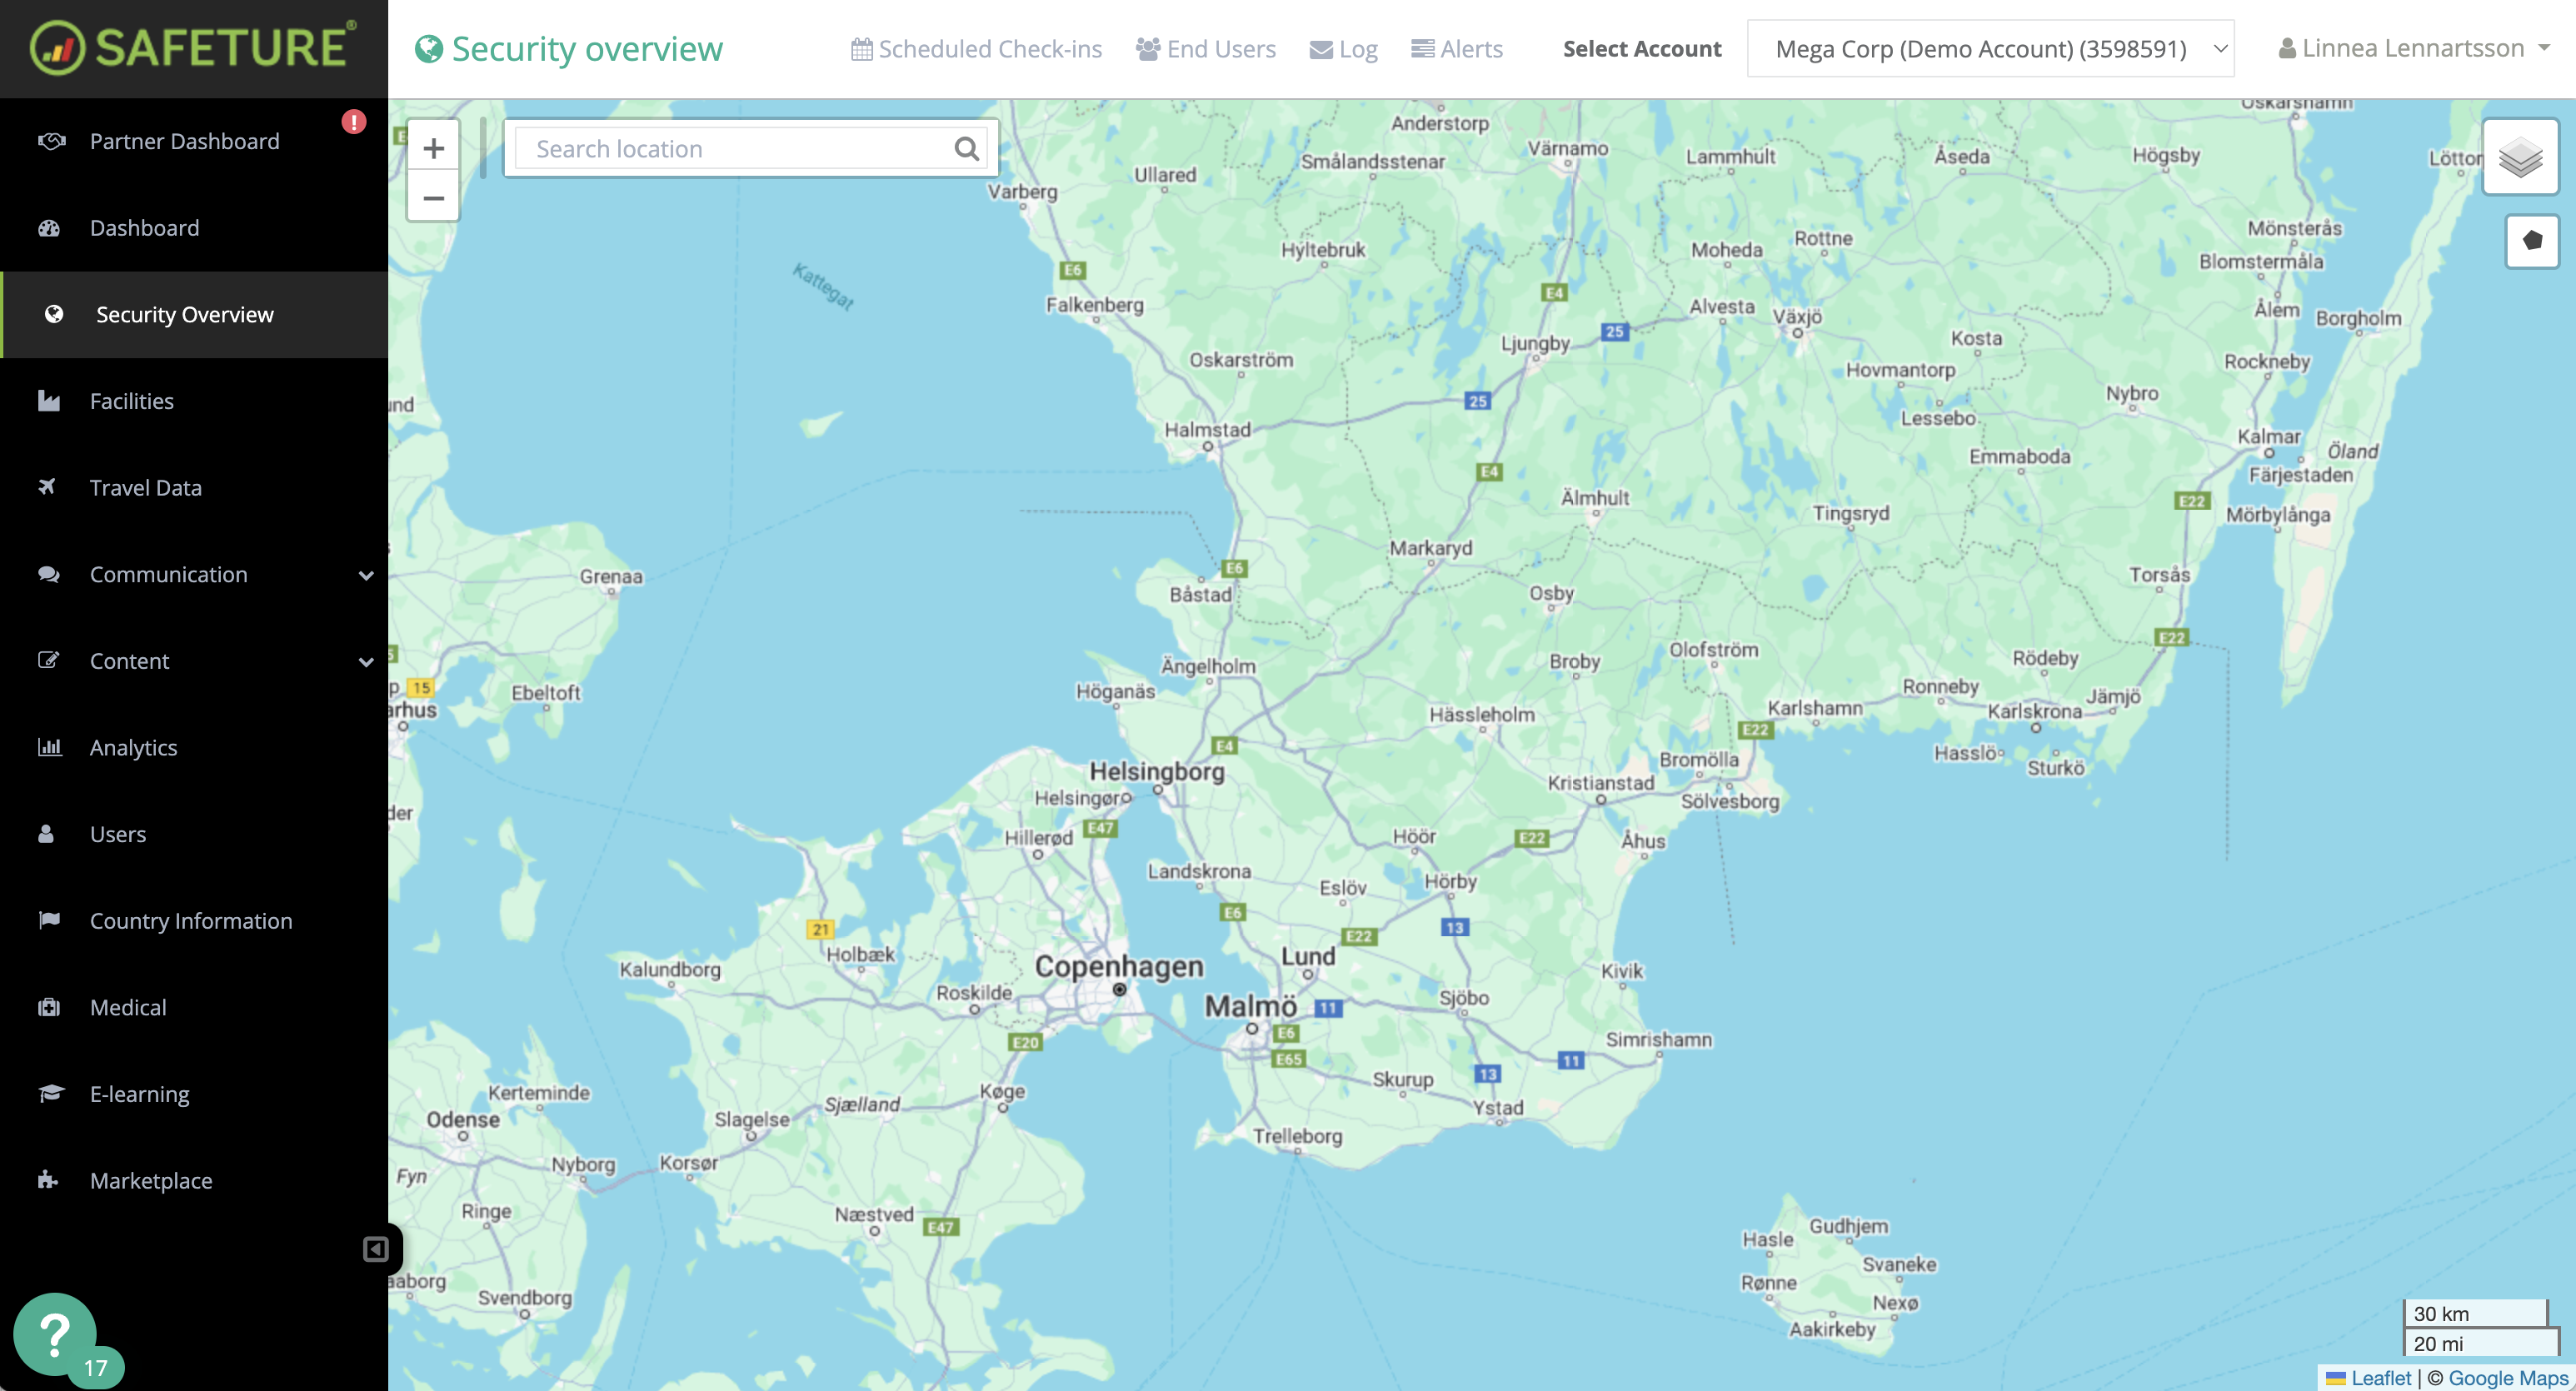
Default Map
Risk Assessment Map
The Risk Assesment Map color-codes countries based on overall risk levels determined by the risk intelligence provider. Click on the country to get in-depth risk information.
Filter risk categories
When the risk map is activated, you can use the filters in the top left corner of the map to choose which risk categories to display. This allows you to visually see the different risk levels for specific subcategories within the country.
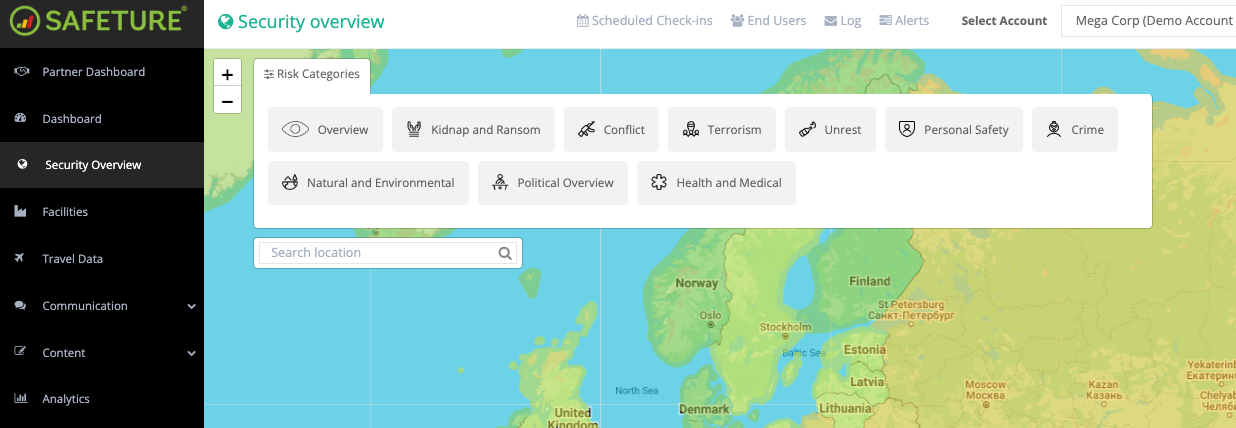
Use the filters in the top left corner of the map to choose what risk categories to display on the map
Satellite map
The satellite map provides a detailed, high-resolution view from space, offering a realistic depiction of terrain, landscapes, and urban areas.
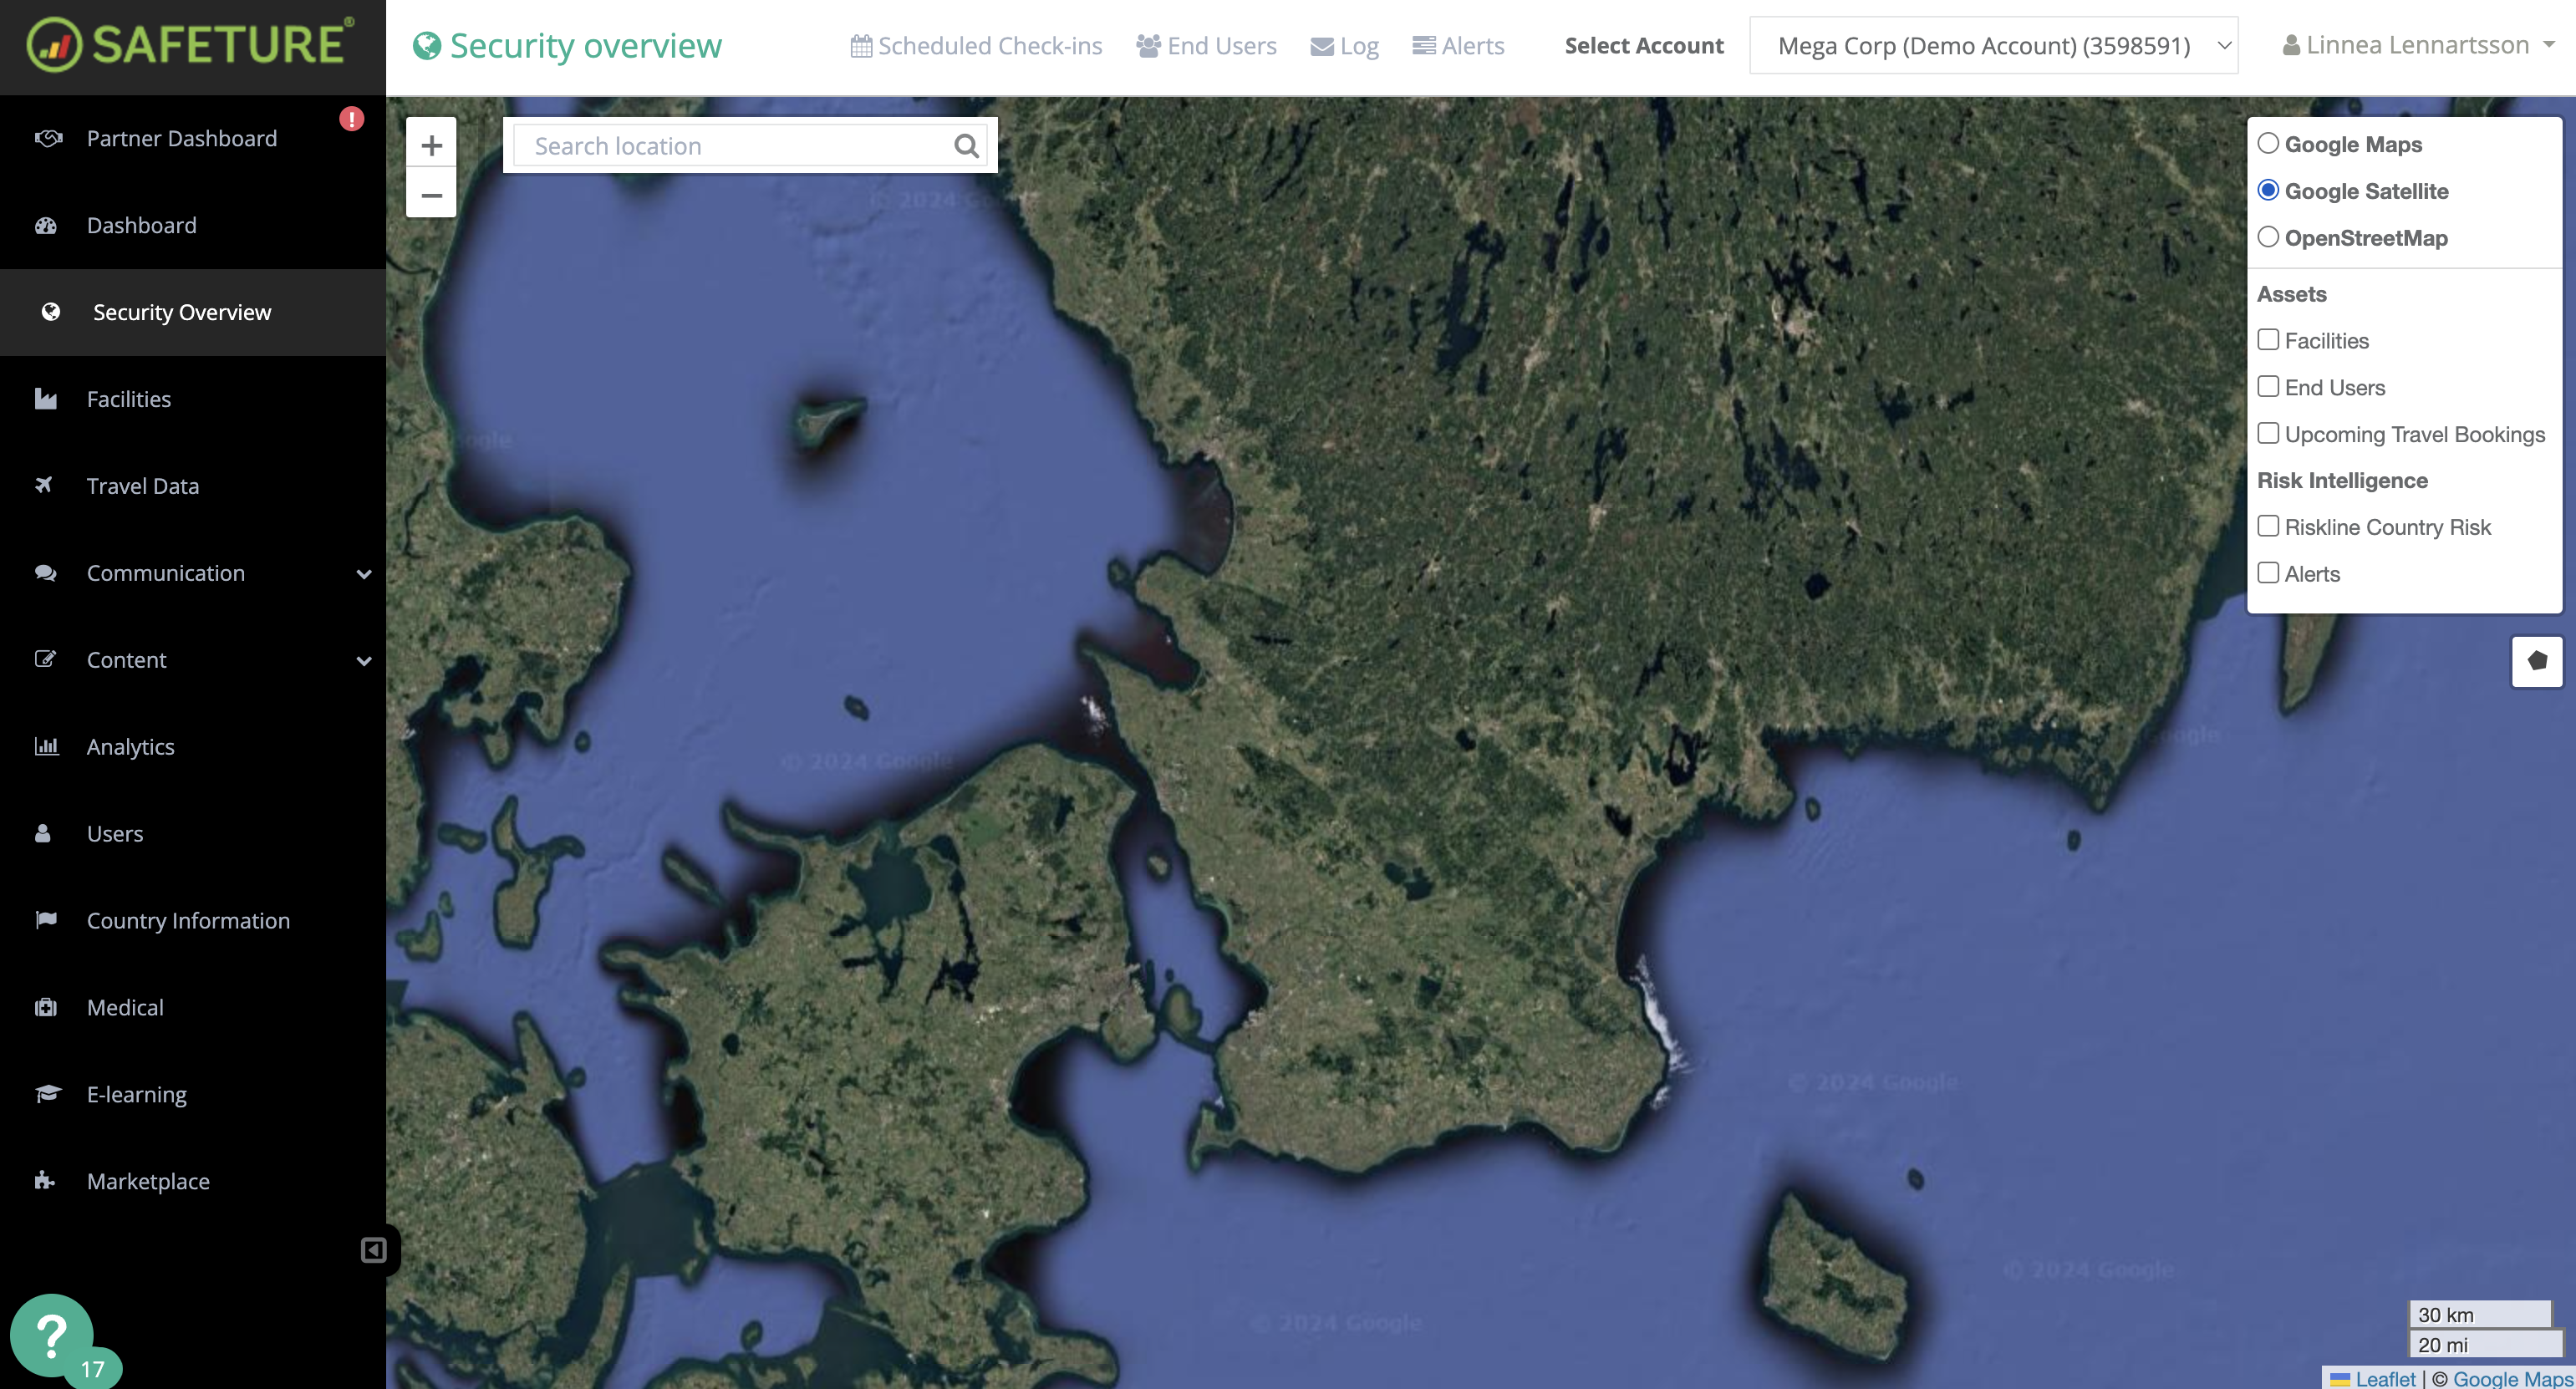
Satellite Map
Information layers
A variety of information layers allow you to add extra details on the different maps:
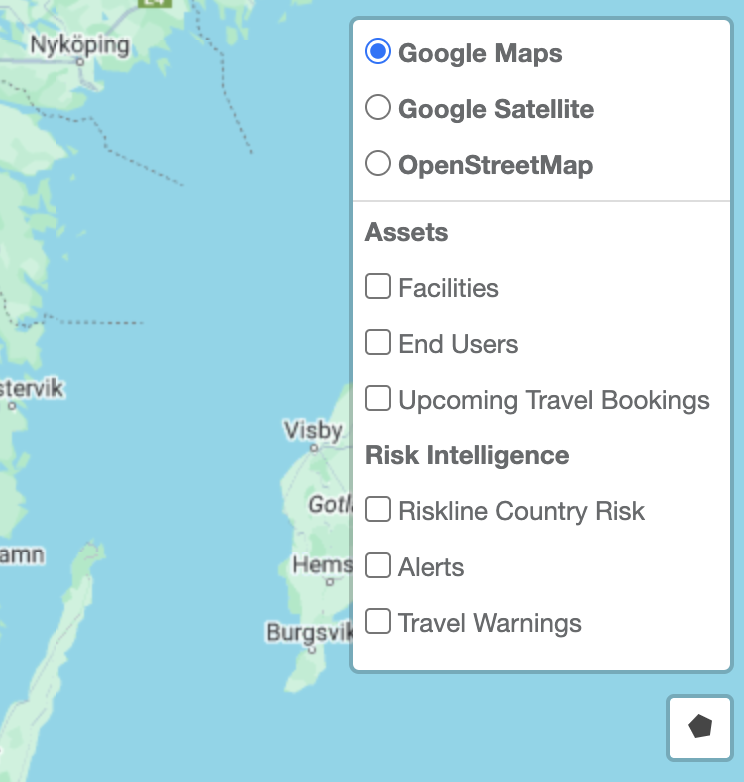
Map options and Information Layers (Assets and Risk Intelligence)
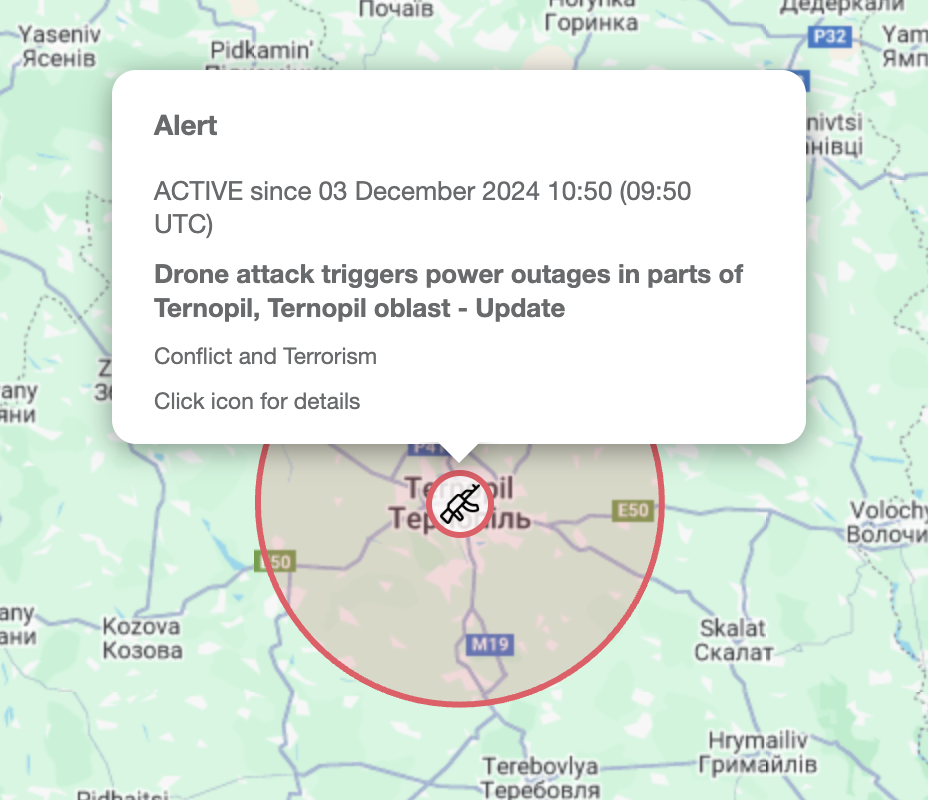
Alerts
Add the Alerts layer to the map to visualize current and past incidents. The alert icon and color state the type and risk level of the incident, and the circle around the alert represents the impact radius. The alert radius varies dynamically depending on whether the incident is considered local or country-wide.
Filter alerts
Use the filters in the top left corner to customize the display of alerts. You can filter alerts based on the following:
Location: Select a country to view alerts specific to that country.
Scope: Select the time range for which you would like to view alerts.
Risk: Display alerts according to risk levels
Publisher: The alert publisher; either your organization or a content supplier providing third-party risk intelligence.
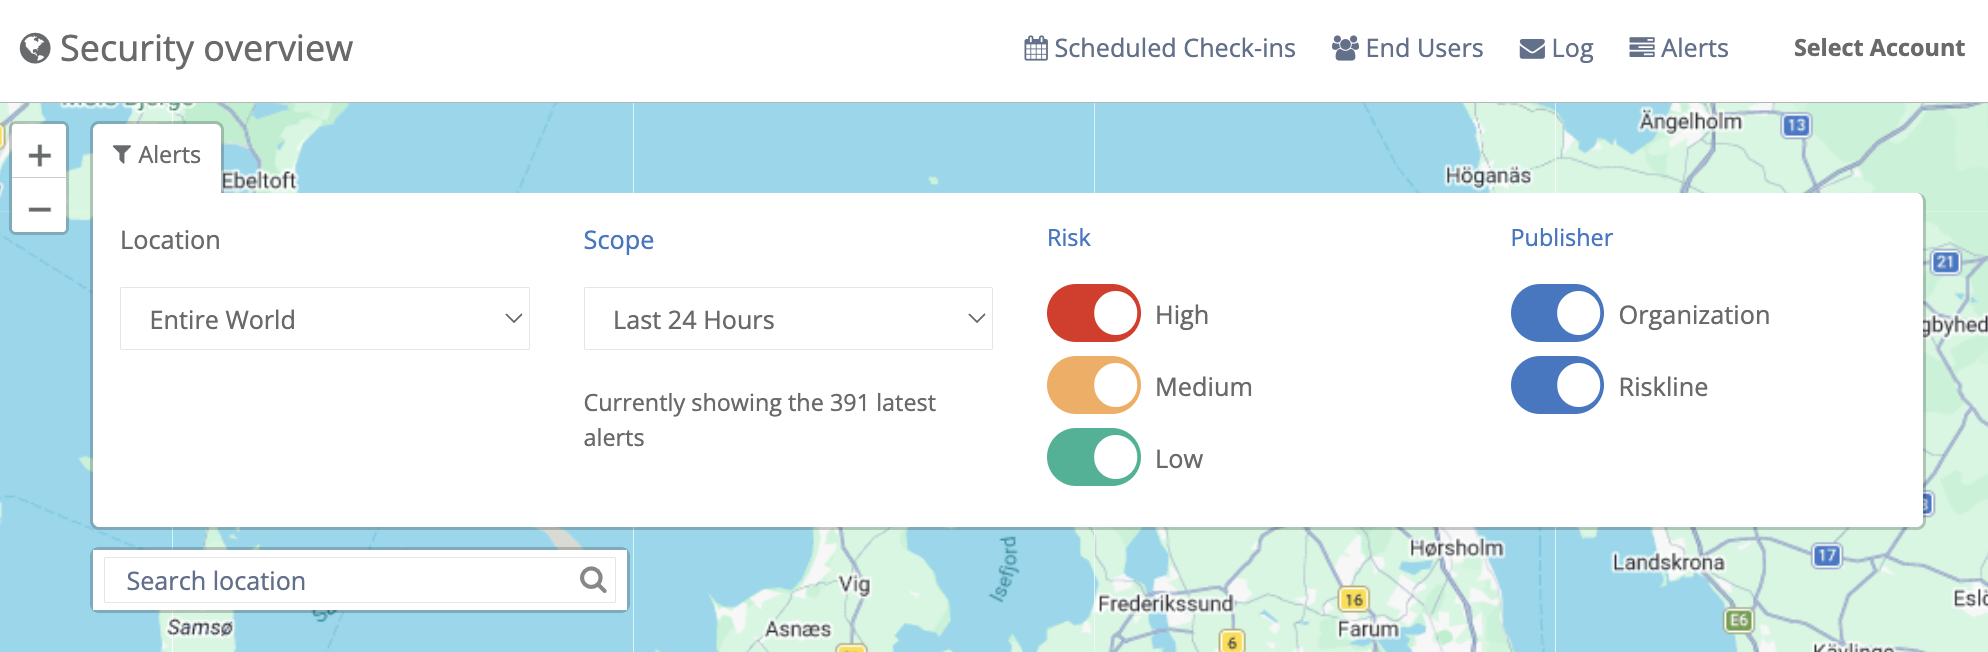
Alert filters in the top left corner of the Security overview map.
Facilities
Use the Facilities layer to add static locations to the map. Any static location, such as your offices, factories, warehouses, stores, etc., can be added as a facility and plotted on the map to identify potential threats to the people working there.
Use the filters in the top left corner to adjust which facilities are displayed on the map.
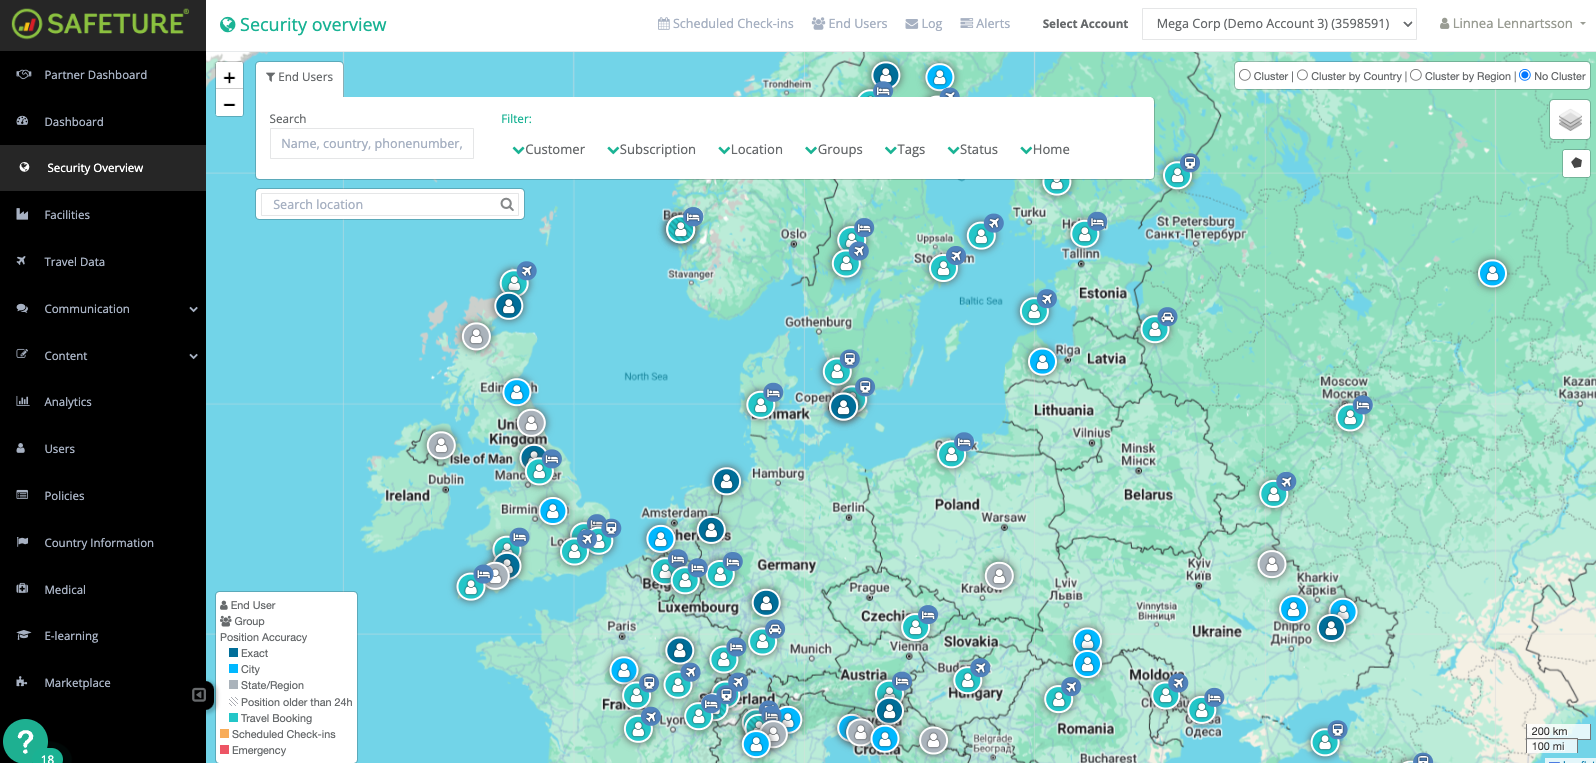
End-users
Use the End-users layer to identify the location of your end users.
The icons representing your users are given different colors based on their position accuracy, which reflects the privacy settings made in the Safeture Mobile Application (exact location, city level, or region/state):
Position older than 24 hours: A striped icon indicates that there is no up-to-date location report for that user. By default, the location report is considered outdated after 24 hours, but this can be overridden in the web portal's Settings.
Emergency: If an end-user has activated the emergency button, their icon will turn red and begin to flash.
Missed Scheduled Check-in: If a user misses a check-in request, their icon will turn yellow.
Airport/Hotel Position: In addition to phone locations provided by the Safeture Mobile Application, the Safeture Platform can also position users through travel booking data. This is done by integrating with your Travel Management Company (TMC) to stream the travel data to the platform.
Filter end-users
Use the map's filters in the top left corner to filter users. You can filter users based on the following:
Customer: Select the account(s) you want to view on the map.
Subscription: Select the subscription number(s) you want to view on the map.
Location: Select the country or countries where you want to view users.
Groups: Choose specific user groups you wish to display.
Status: Select active or inactive users
Home: Filter users based on their current position (Home or Travelling)
VIP: Displays users designated as VIP
Filter End-users
Travel warnings
Travel Warnings is another information layer that presents you with all geographical areas where you currently are advised not to travel by ministries of foreign affairs.
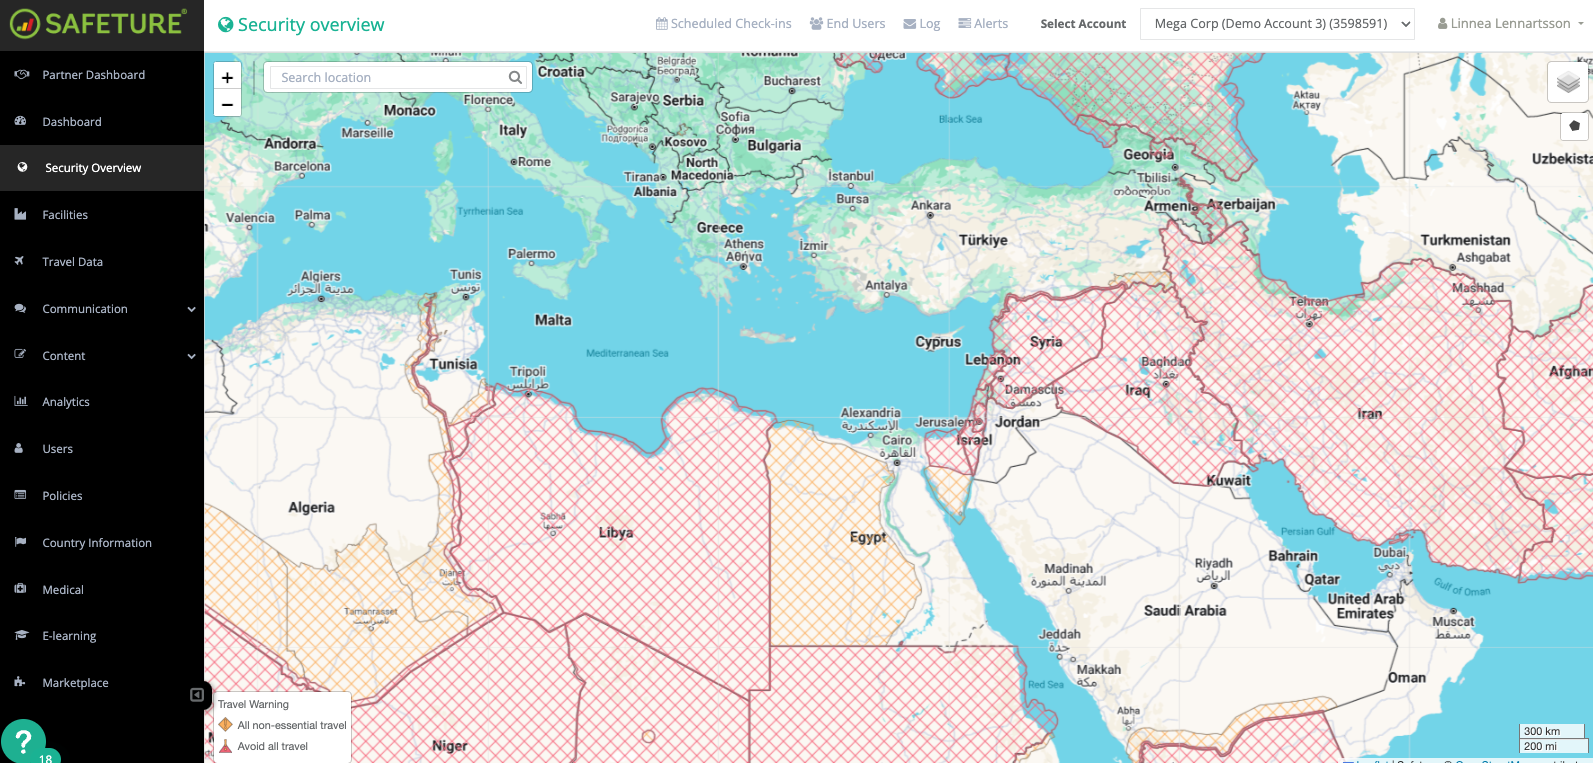
Travel Warnings Information Layer
Upcoming Travel Bookings
The upcoming travel bookings information layer gives administrators a quick overview of forthcoming travel bookings to different geographical areas and makes it easier to identify travellers at potential risk. As the name suggests, it shows people’s future travel bookings, such as hotel bookings, airport arrivals, train ride arrivals, and pick-up locations for car rental bookings.
The Upcoming travel bookings information layer is available to all administrators with travel booking features enabled.
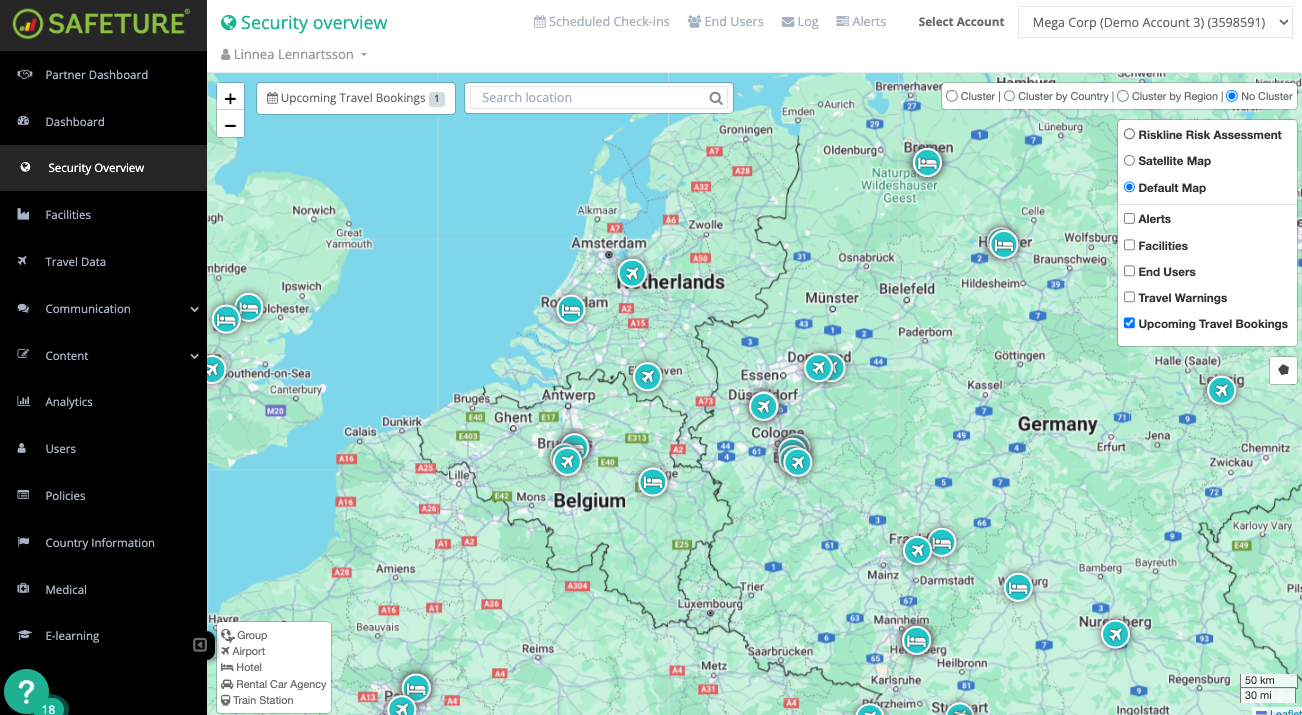
Upcoming Travel Bookings Information Layer
Filter upcoming travel bookings
When the Upcoming Travel Bookings information layer is active you can use the filters in the top left of the map to change time range and select what travel types to display on the map.
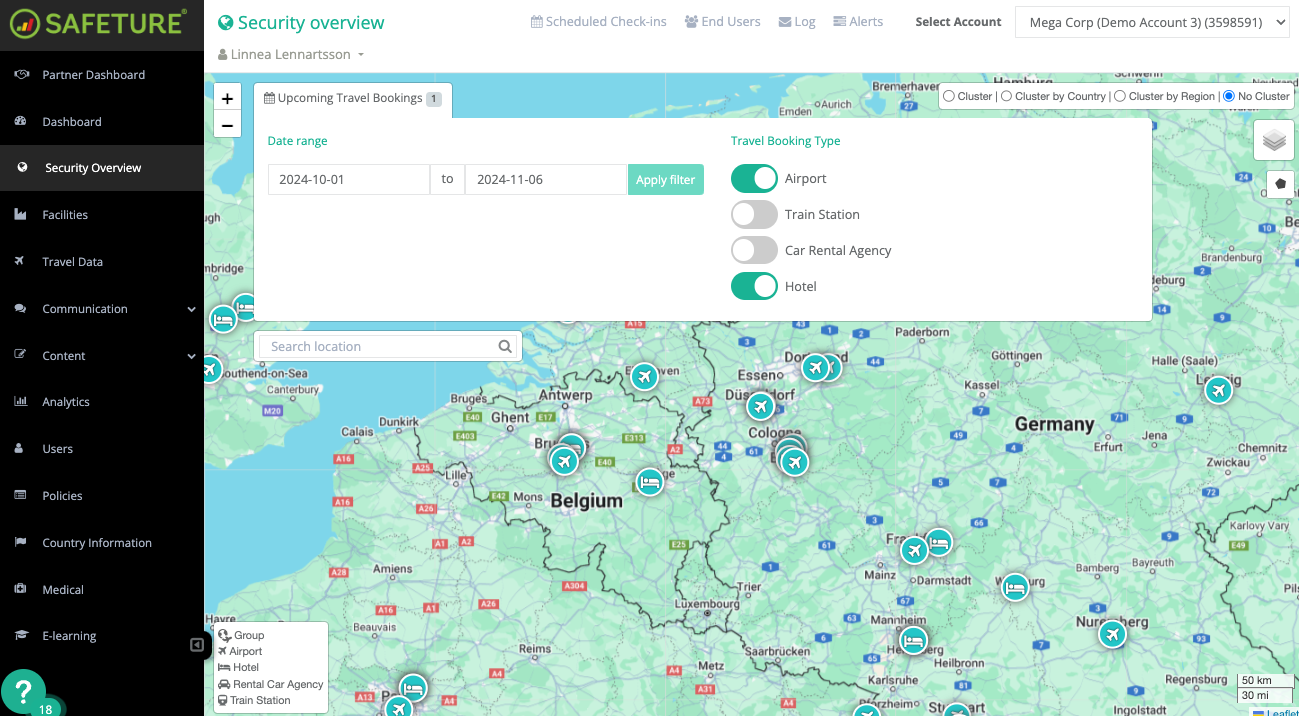
Upcoming Travel Bookings Filters
Message users on the security overview map with the Quick Selector
With the Quick Selector, you can easily draw a shape on the map and message all users located within that area. The selected area can be part of a country, city, or even multiple countries at once.
Click here to see a complete guide on how to use this tool.
Schedule Check-ins
Schedule Check-ins enable a systematic and automated way of making sure your people are OK. As an Administrator, you can set specific dates and times when you want individuals or groups to check in through the Safeture app. A check-in means that they click the check-in button and report their location manually. Schedules can be set on a weekly basis for both individuals and groups of users.
A missed check-in request will trigger notifications to selected Administrators, and a new widget to appear on the Dashboard. The check-in time is automatically set to each end-user’s current time zone.
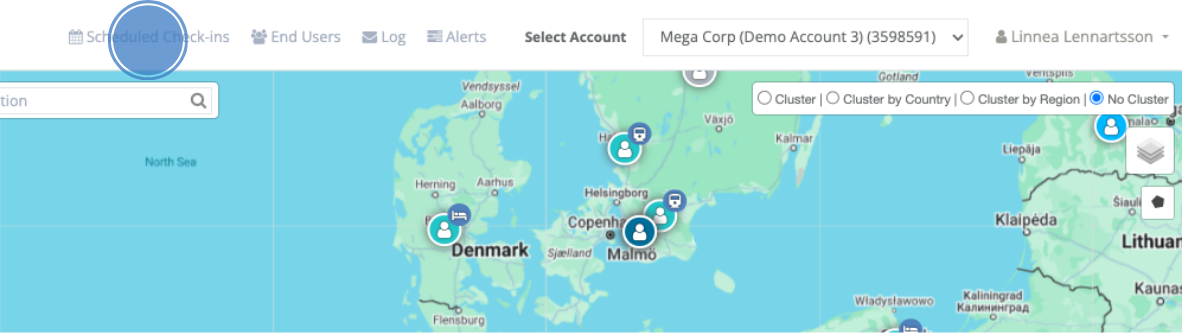
Schedule check-ins from the Security Overview map
Please note: The Scheduled Check-ins functionality is an add-on to the standard Safeture Platform, and additional permissions are set up by the Safeture Client Development team.