
This guide focuses on the settings that can be made in the Web Portal. Among other things, you can make choices regarding notification settings to make sure that the notifications you are getting are tailored to your preferences.
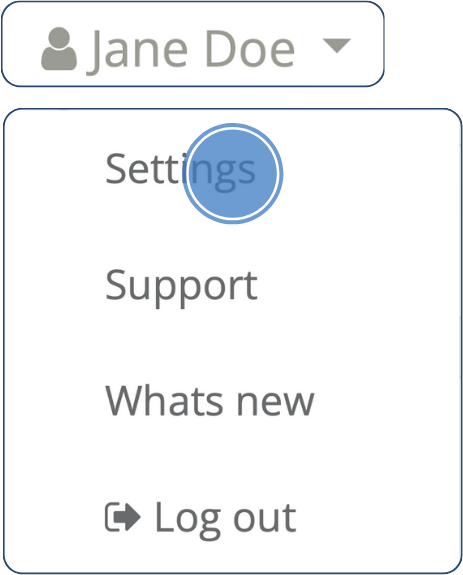
1. Click on your user name and “settings”
In the top-right corner of the web portal, you will see your user name. Click on it to unfold the menu and later click on settings to navigate to the user settings page.
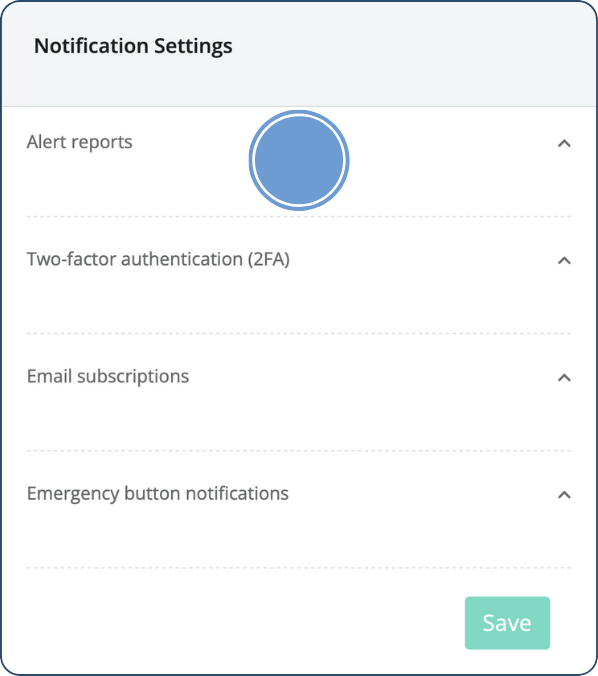
2. Go to alert reports
Click on the section called “Alert reports” to make your settings related to how you wish to receive notifications of incidents near your people or facilities.
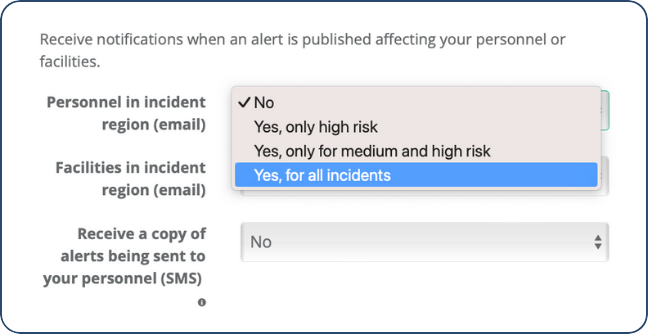
3. Select which type of alerts you wish to be informed of
Choose the type (alert severity level) of alerts you want to receive Alert Reports. Make your settings in the drop-downs for these three send-outs:
-
Personnel in incident region (email)
-
Facilities in incident region (email)
-
Receive a copy of alerts being sent to your personnel (SMS)
4. Click on email subscriptions
Go back to Notification Settings. Click on the section called “Email subscriptions” to choose what platform information you wish to subscribe to in the shape of email send-outs.

5. Choose what type of send-outs you wish to receive to your inbox
Click on the switch for those emails you wish to subscribe to out of the following options:
-
Dashboard: Daily email send-out of your Dashboard, i.e. an overview of the situation when it comes to your people, travelers, alerts etcetera.
-
Risk trip warnings: Daily email containing information on any new high-risk travel bookings that has been added to the system.
-
Travel booking overview: Daily send-out of your Travel Bookings, highlighting issues with mismatched traveler contact information.
-
Missed scheduled check-ins: Email for missed check-ins scheduled for your people. The email will be sent immediately after a missed scheduled time window.
-
Email parsing issues: Emails about failed attempts to integrate travel data, that the parsed travel data is incorrect, and the cause of the error. Emails are only sent out when an error has occurred. Read more about Email parsing issues here.
6. Click on the emergency button notifications section
Go back to Notification Settings. Click on the section called “Emergency button notifications” to choose how you want to be notified when someone uses the emergency button in the Safeture app.
Choose between email or SMS.
Note: you can select to be informed via both channels.