
Inviting App Users to the Platform
Last Updated: February 19, 2026
This guide explains how administrators can add users to their account via the Web Portal. There are two methods for adding users: you can either add them one by one or import them in bulk, depending on the number of users.
1. Access the Users Module
Start by navigating to the ‘Users’ module in the left-side menu of the Web Portal.
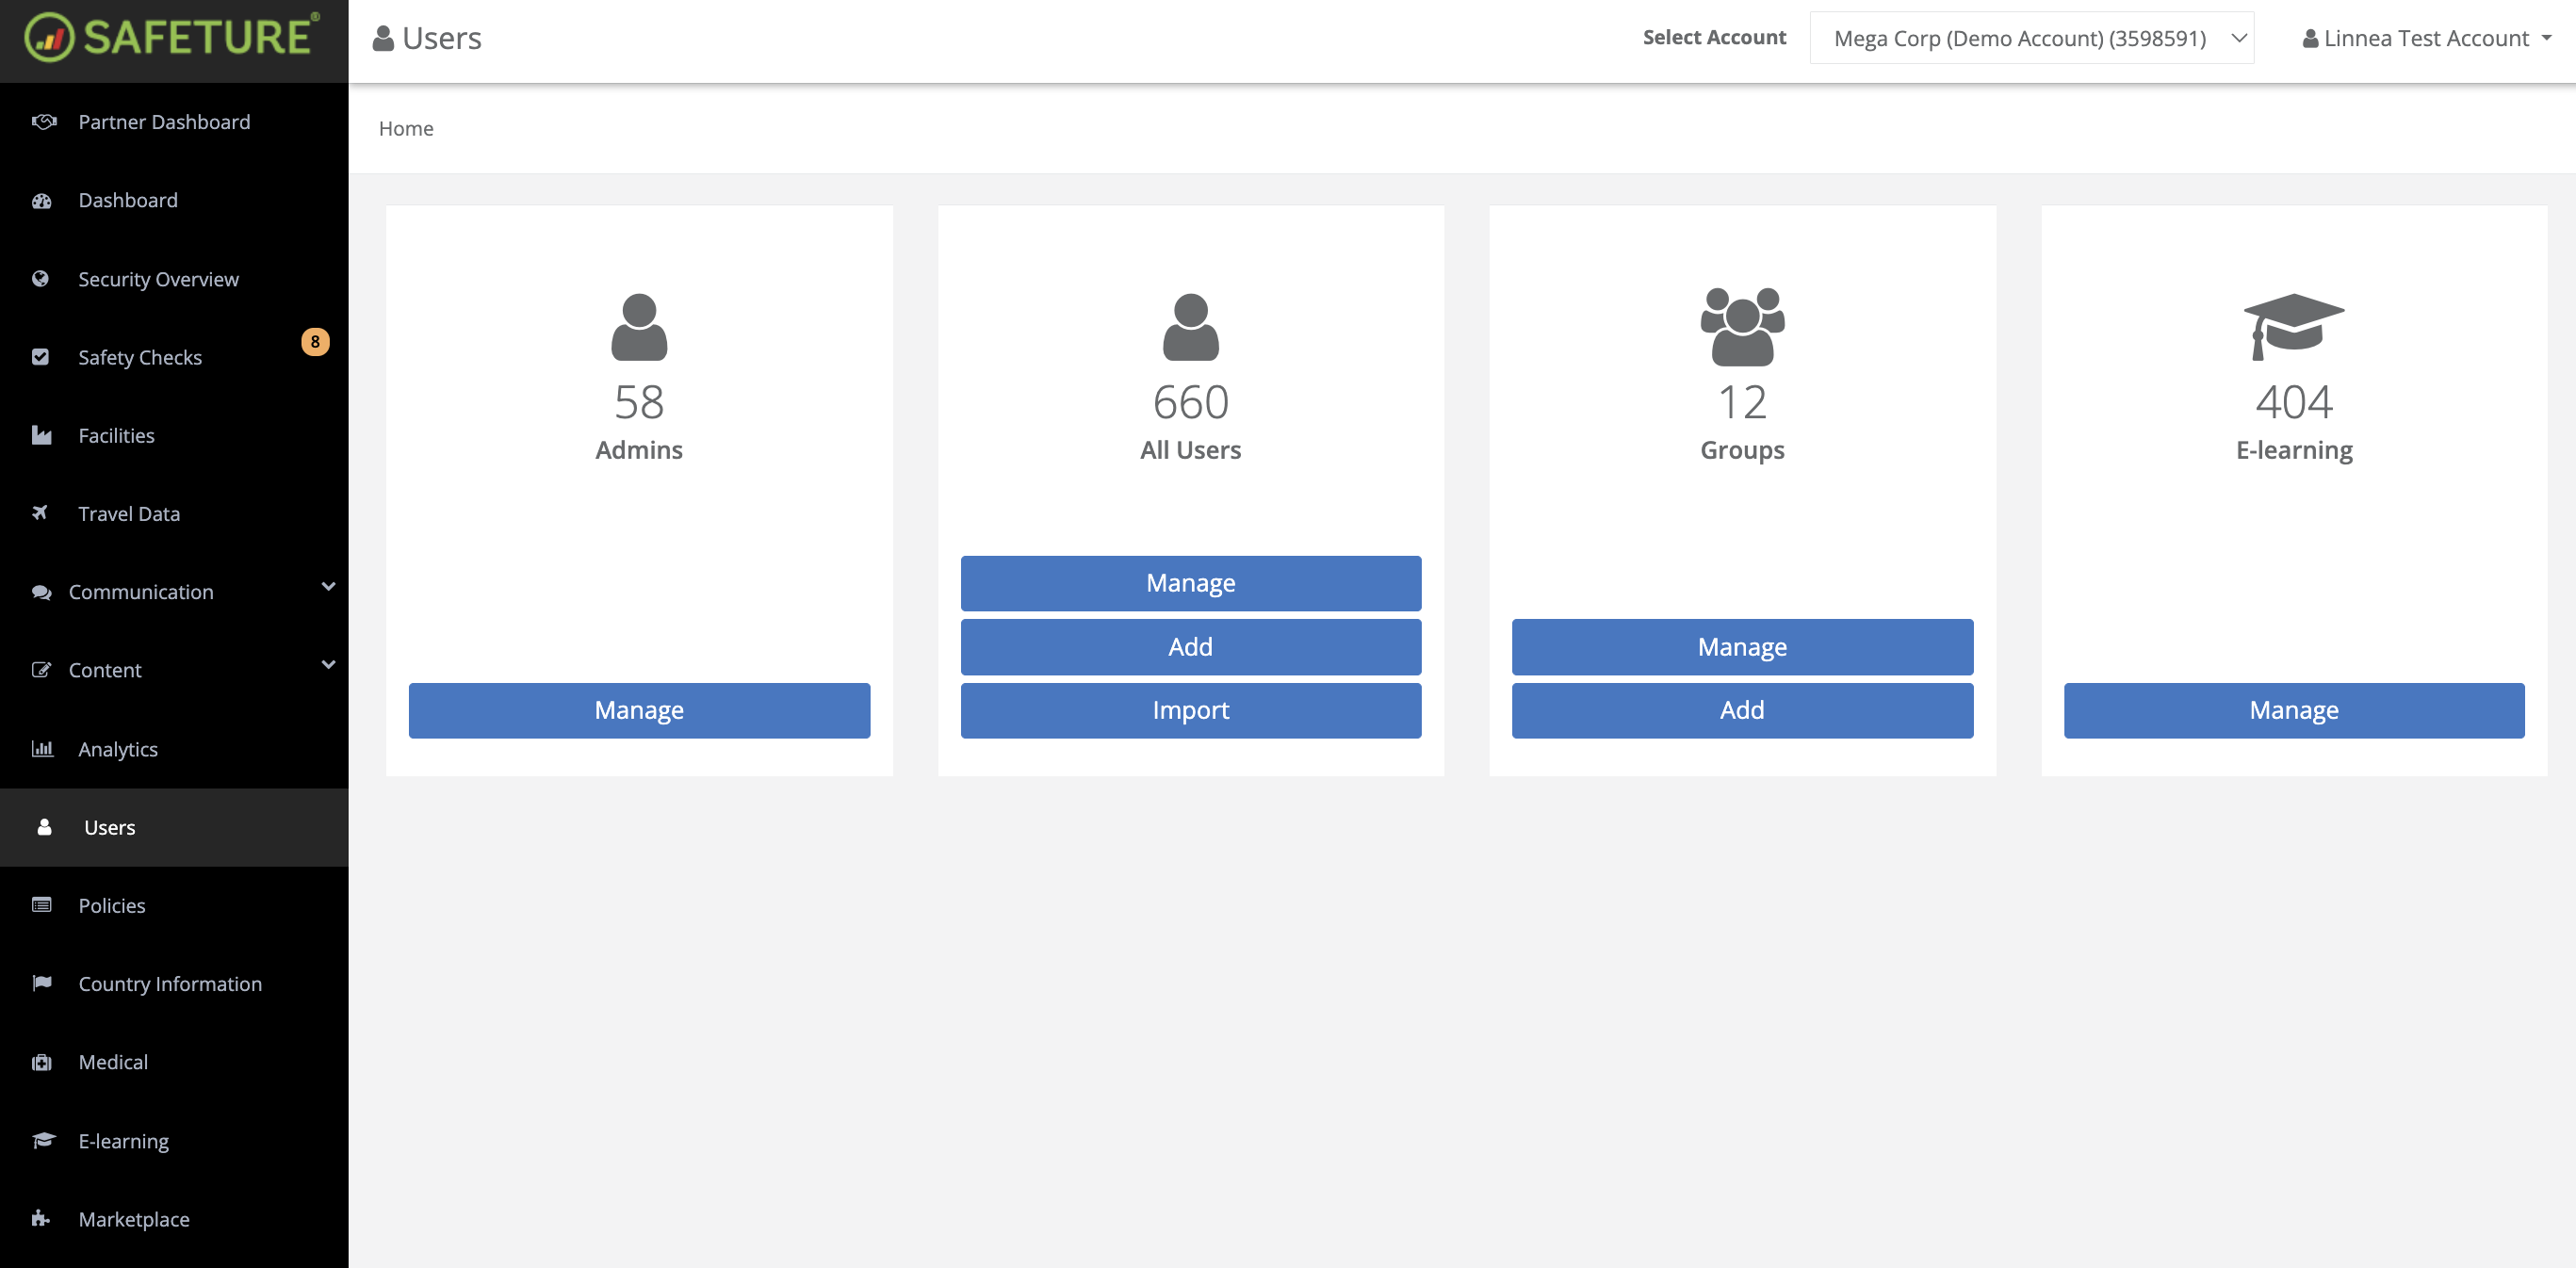
2. Select method to add users
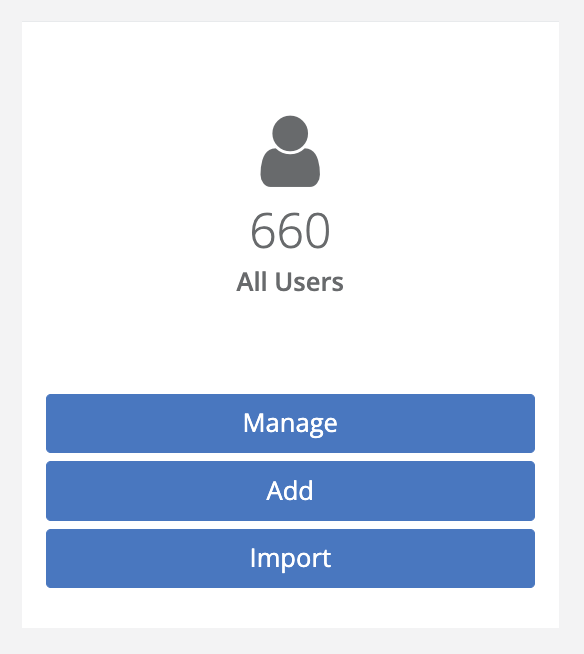
Under the “All Users” sub-module, you can add users in two ways:
Add: Select this option to add users one by one. Recommended for adding a small number of users. Follow the steps for individual user additions.
Import: Select this option to add multiple users at once. Ideal for bulk additions, making the process more efficient. Follow the instructions to import users via a spreadsheet.
Please Note: If Single Sign-On (SSO) is enabled for your login method, inviting users manually is not possible.
2a) Add Users Individually
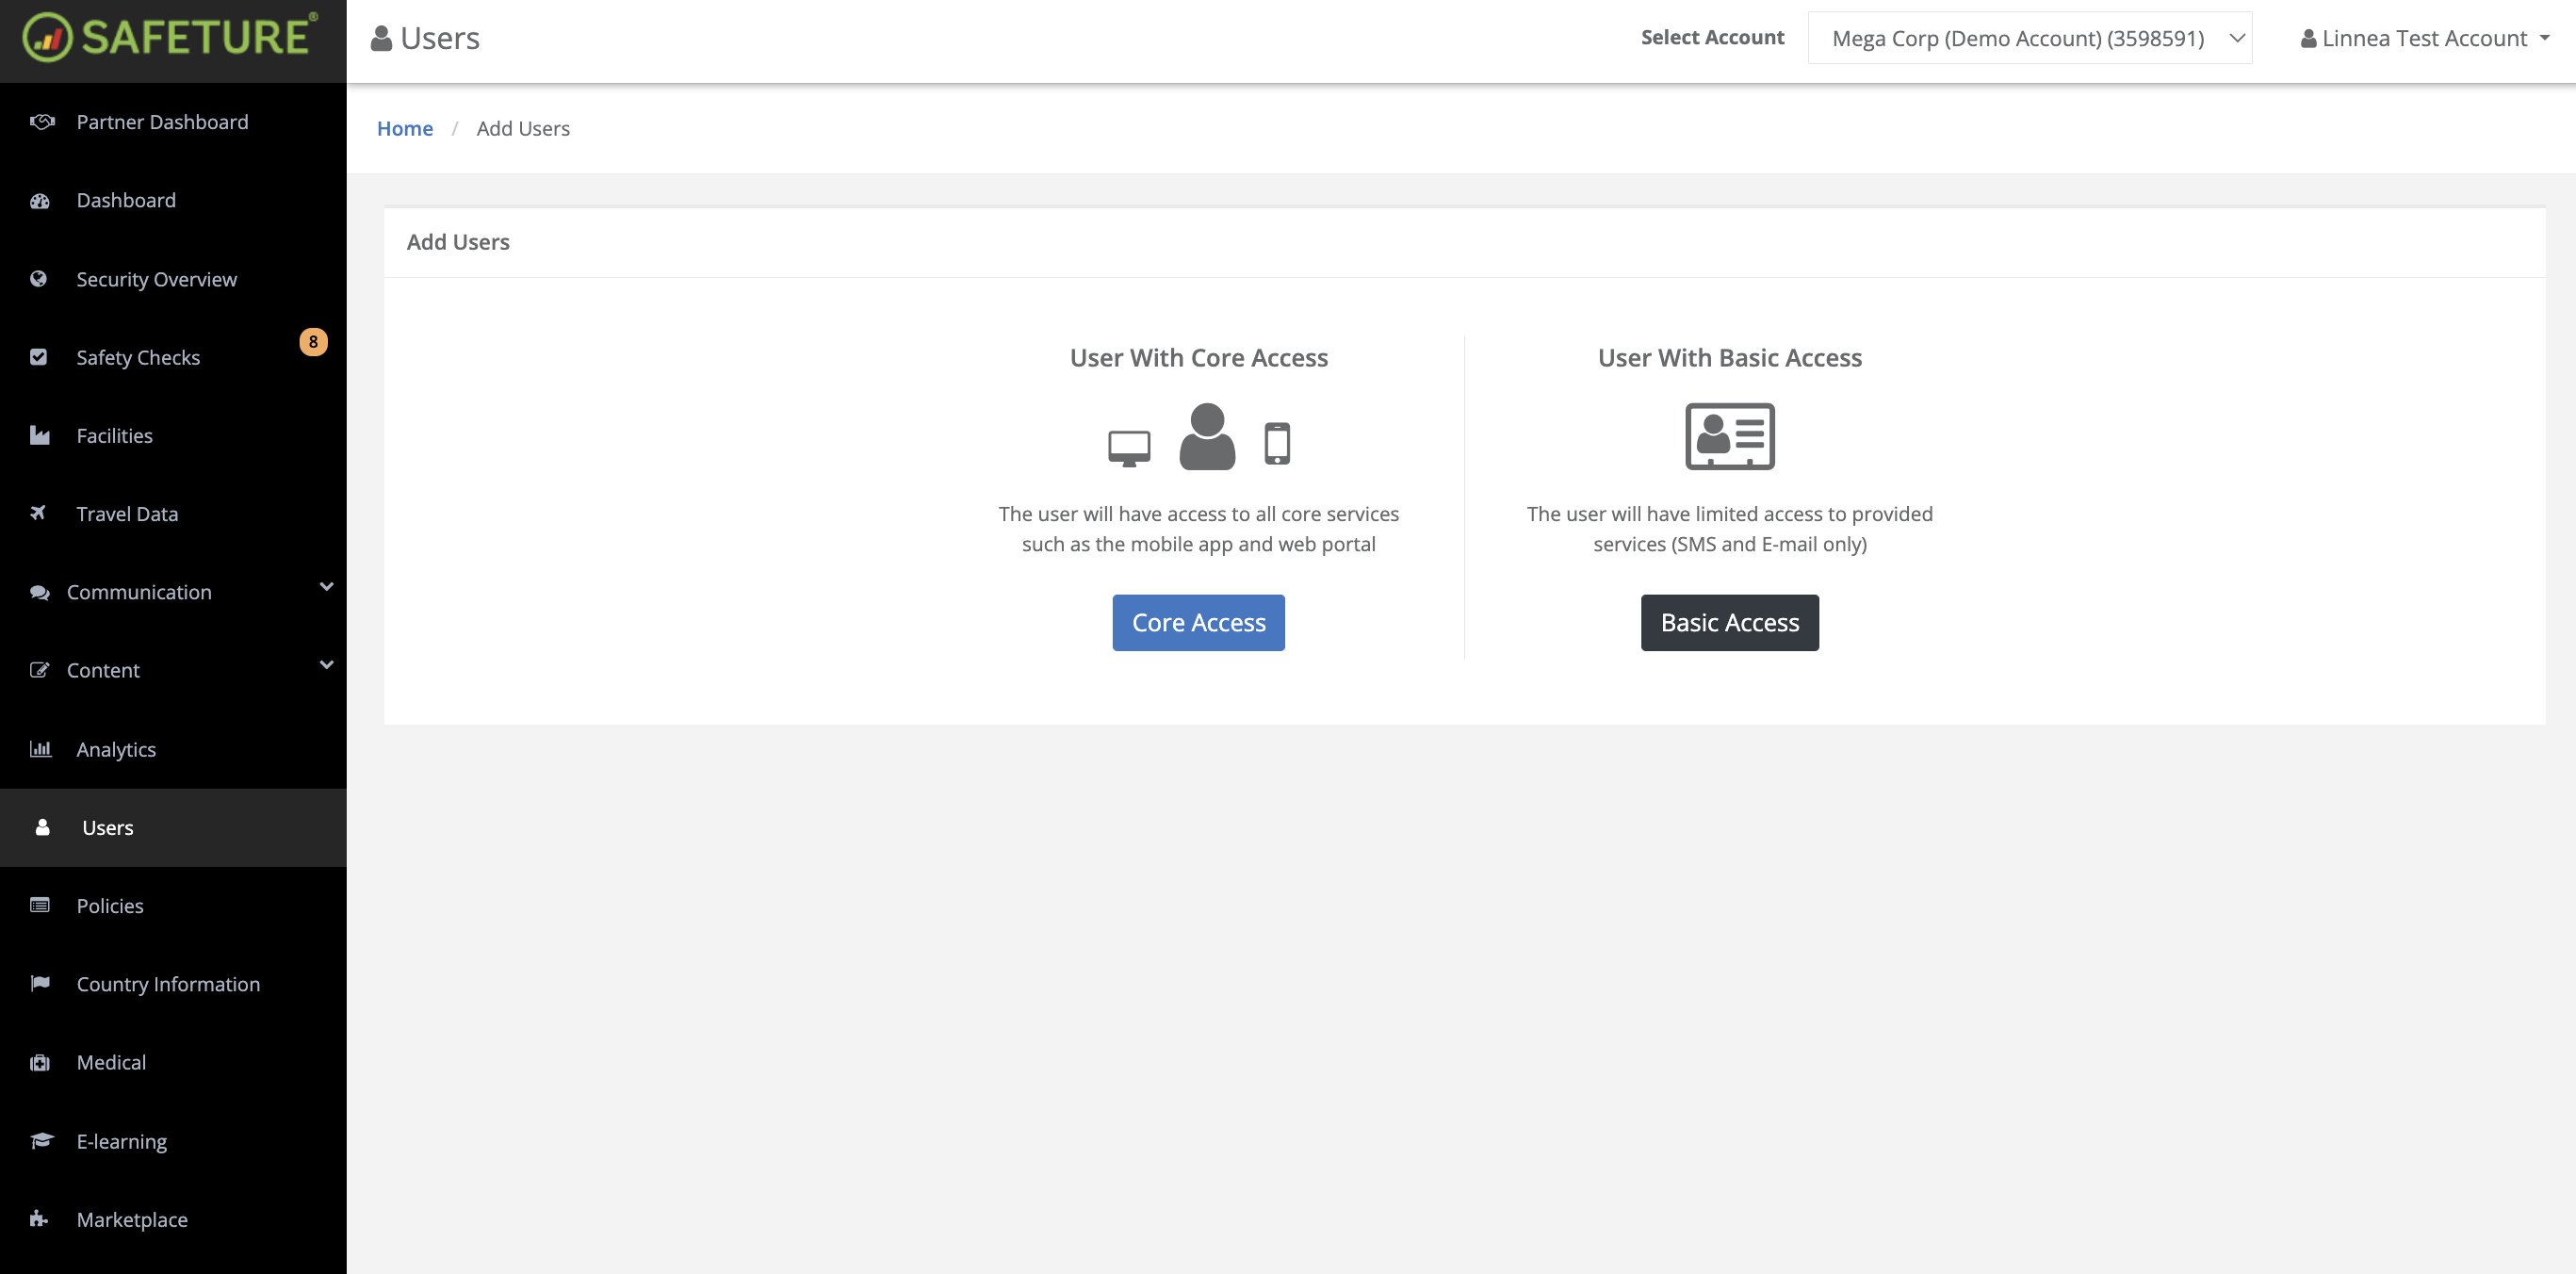
Click ‘Add’
Choose “Core Access” to add users with app access
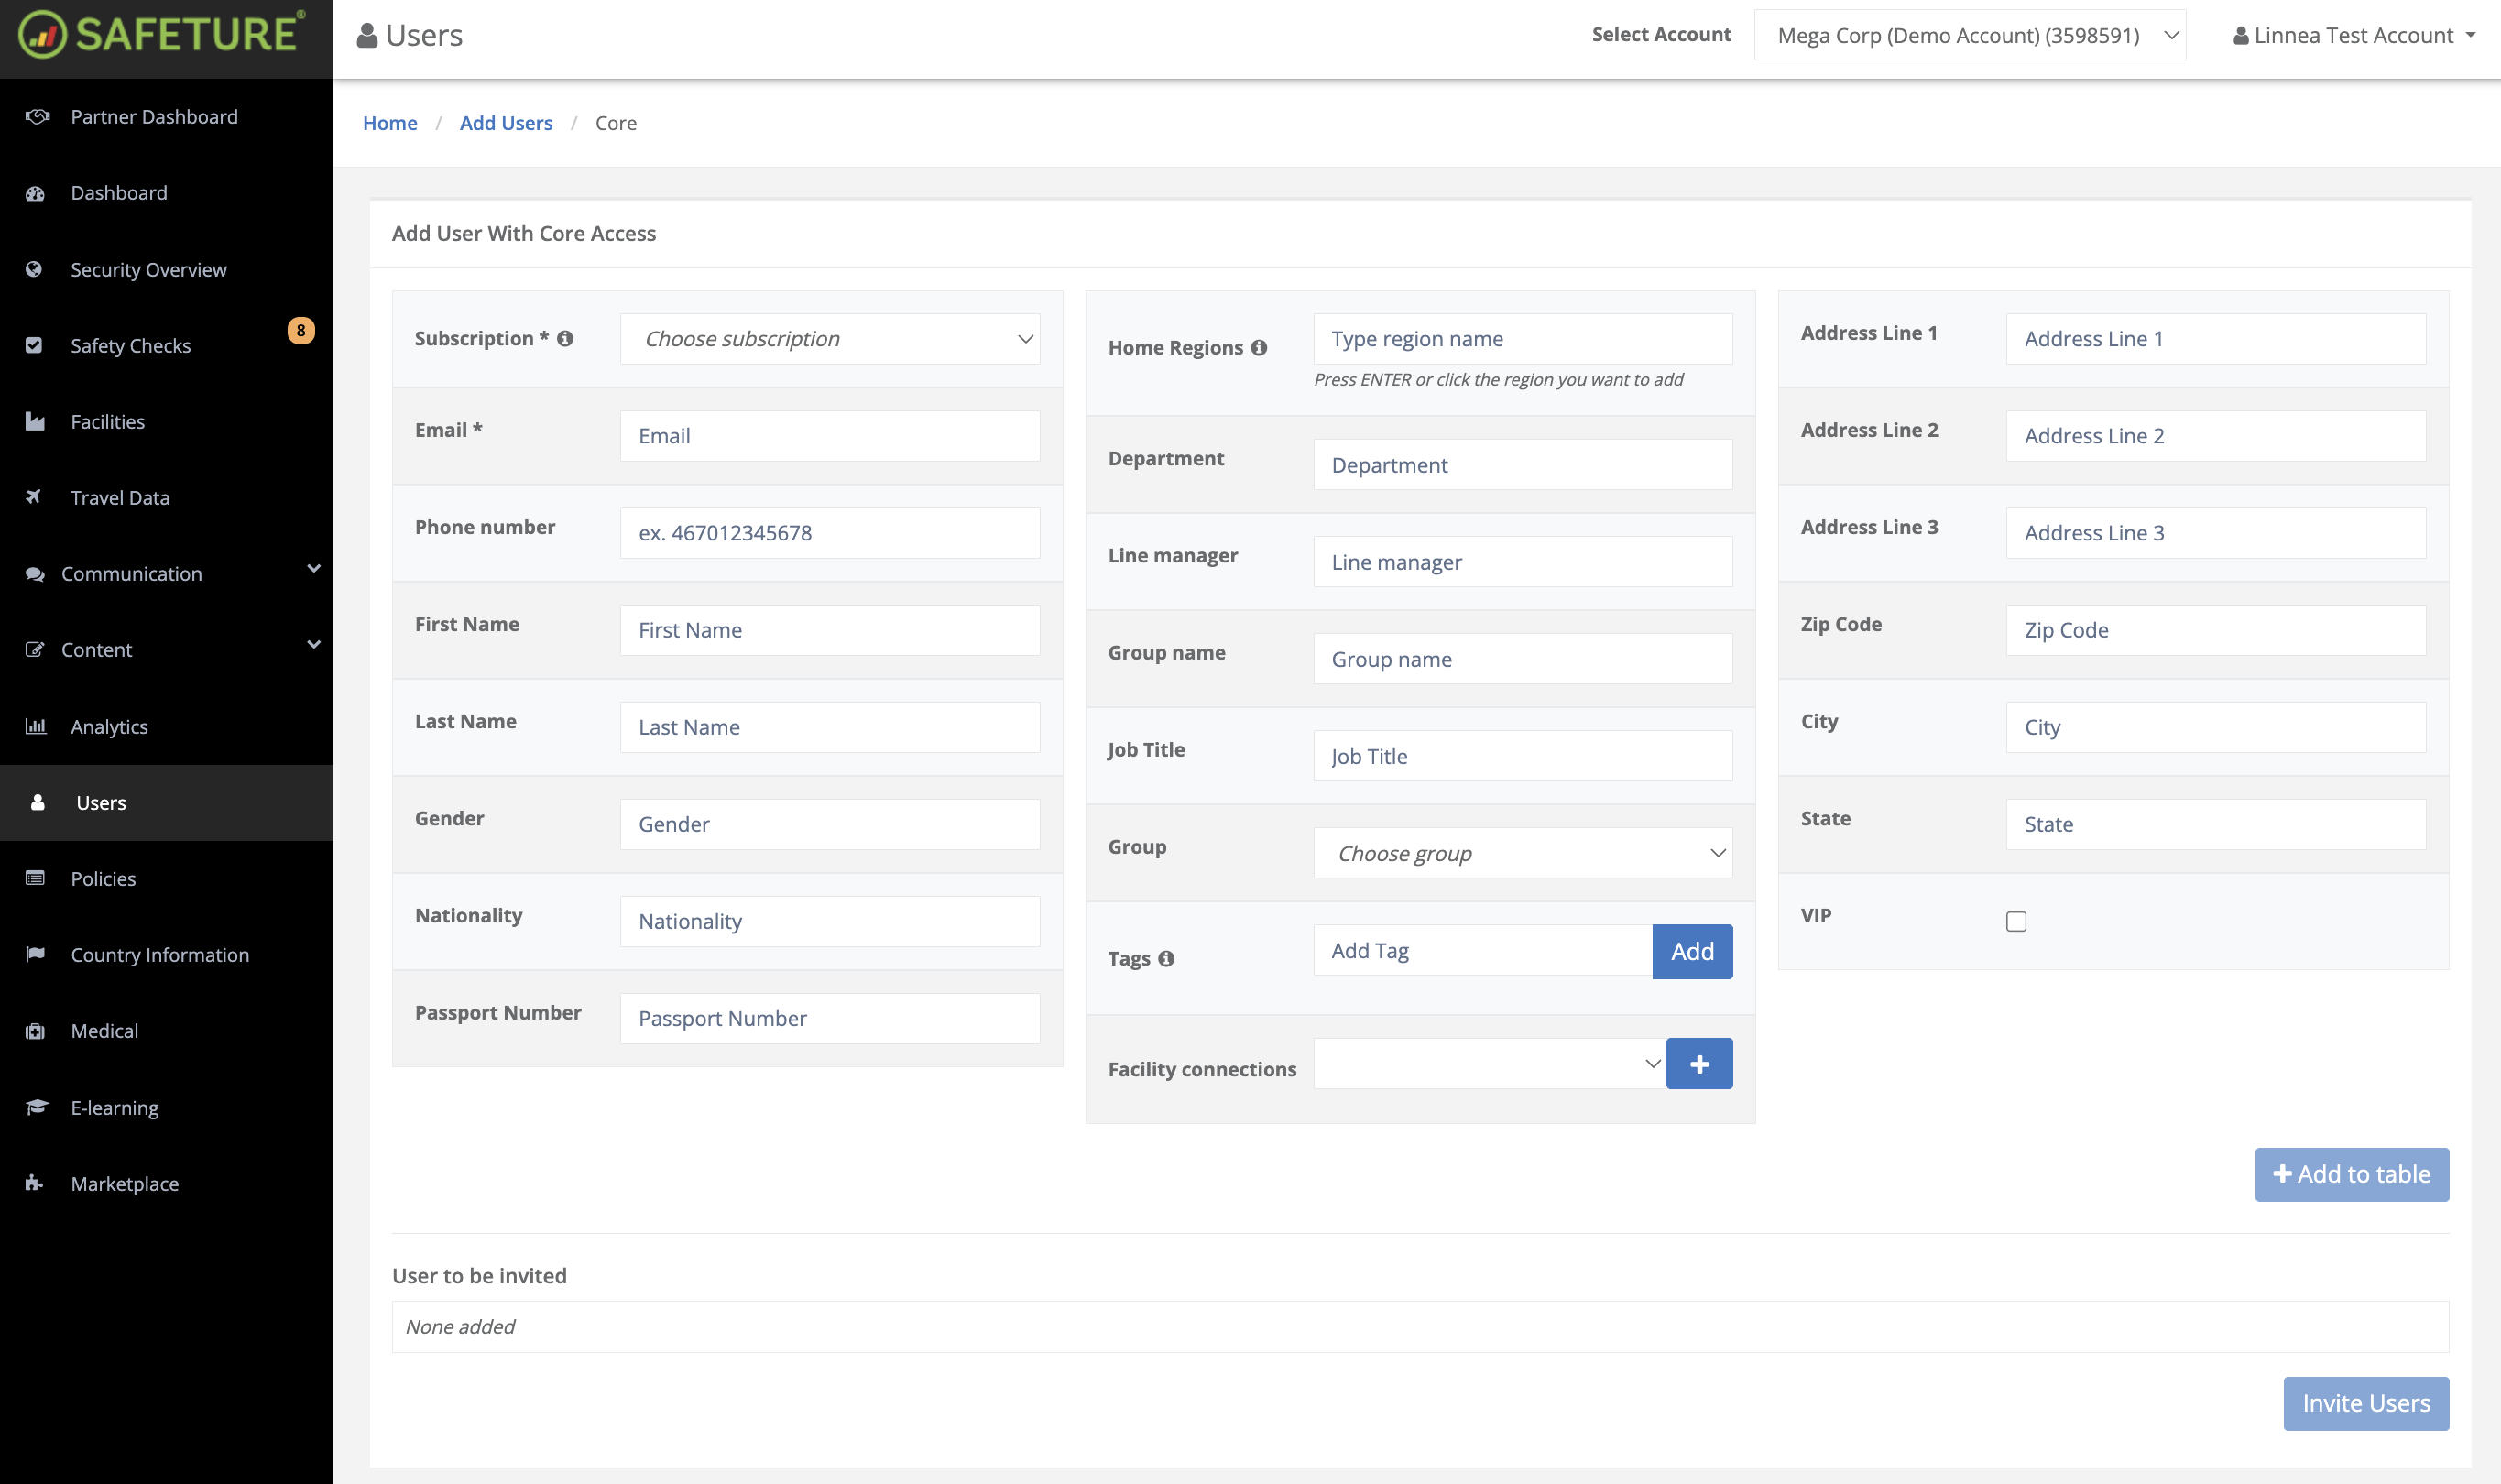
Enter User Information:
Subscription: Required. Select the user’s subscription type (e.g., Fixed, Travel Booking, Contact). The default option is Fixed. If the user requires multiple subscriptions, please contact support.
Email: Required. Enter the email address associated with the user.
Phone number: Use the area code without the "+" sign (e.g., 46701234567 for Sweden).
First name, Last name, Gender, Nationality, Passport Number.
Home Regions: Define if the user is “home” based on their region.
Department, Line Manager, Job Title, Group, Tags, Facility Connections.
Address: Include address, zip code, city, state, and country.
Add User to the Table
After entering the details, click the green button ‘Add to Table’ to confirm.
Verify the entered information. If corrections are needed, use the edit option to update and save changes.
2b) Importing Multiple Users via Spreadsheet
Return to the Users module’s main page by selecting “Users” from the right-hand menu. From there, take the following steps to import users with app access:
Click ‘Import’
Choose “Core Access”:
Download and Complete the Spreadsheet Template. Fill in the details for each user, ensuring all necessary information is included.
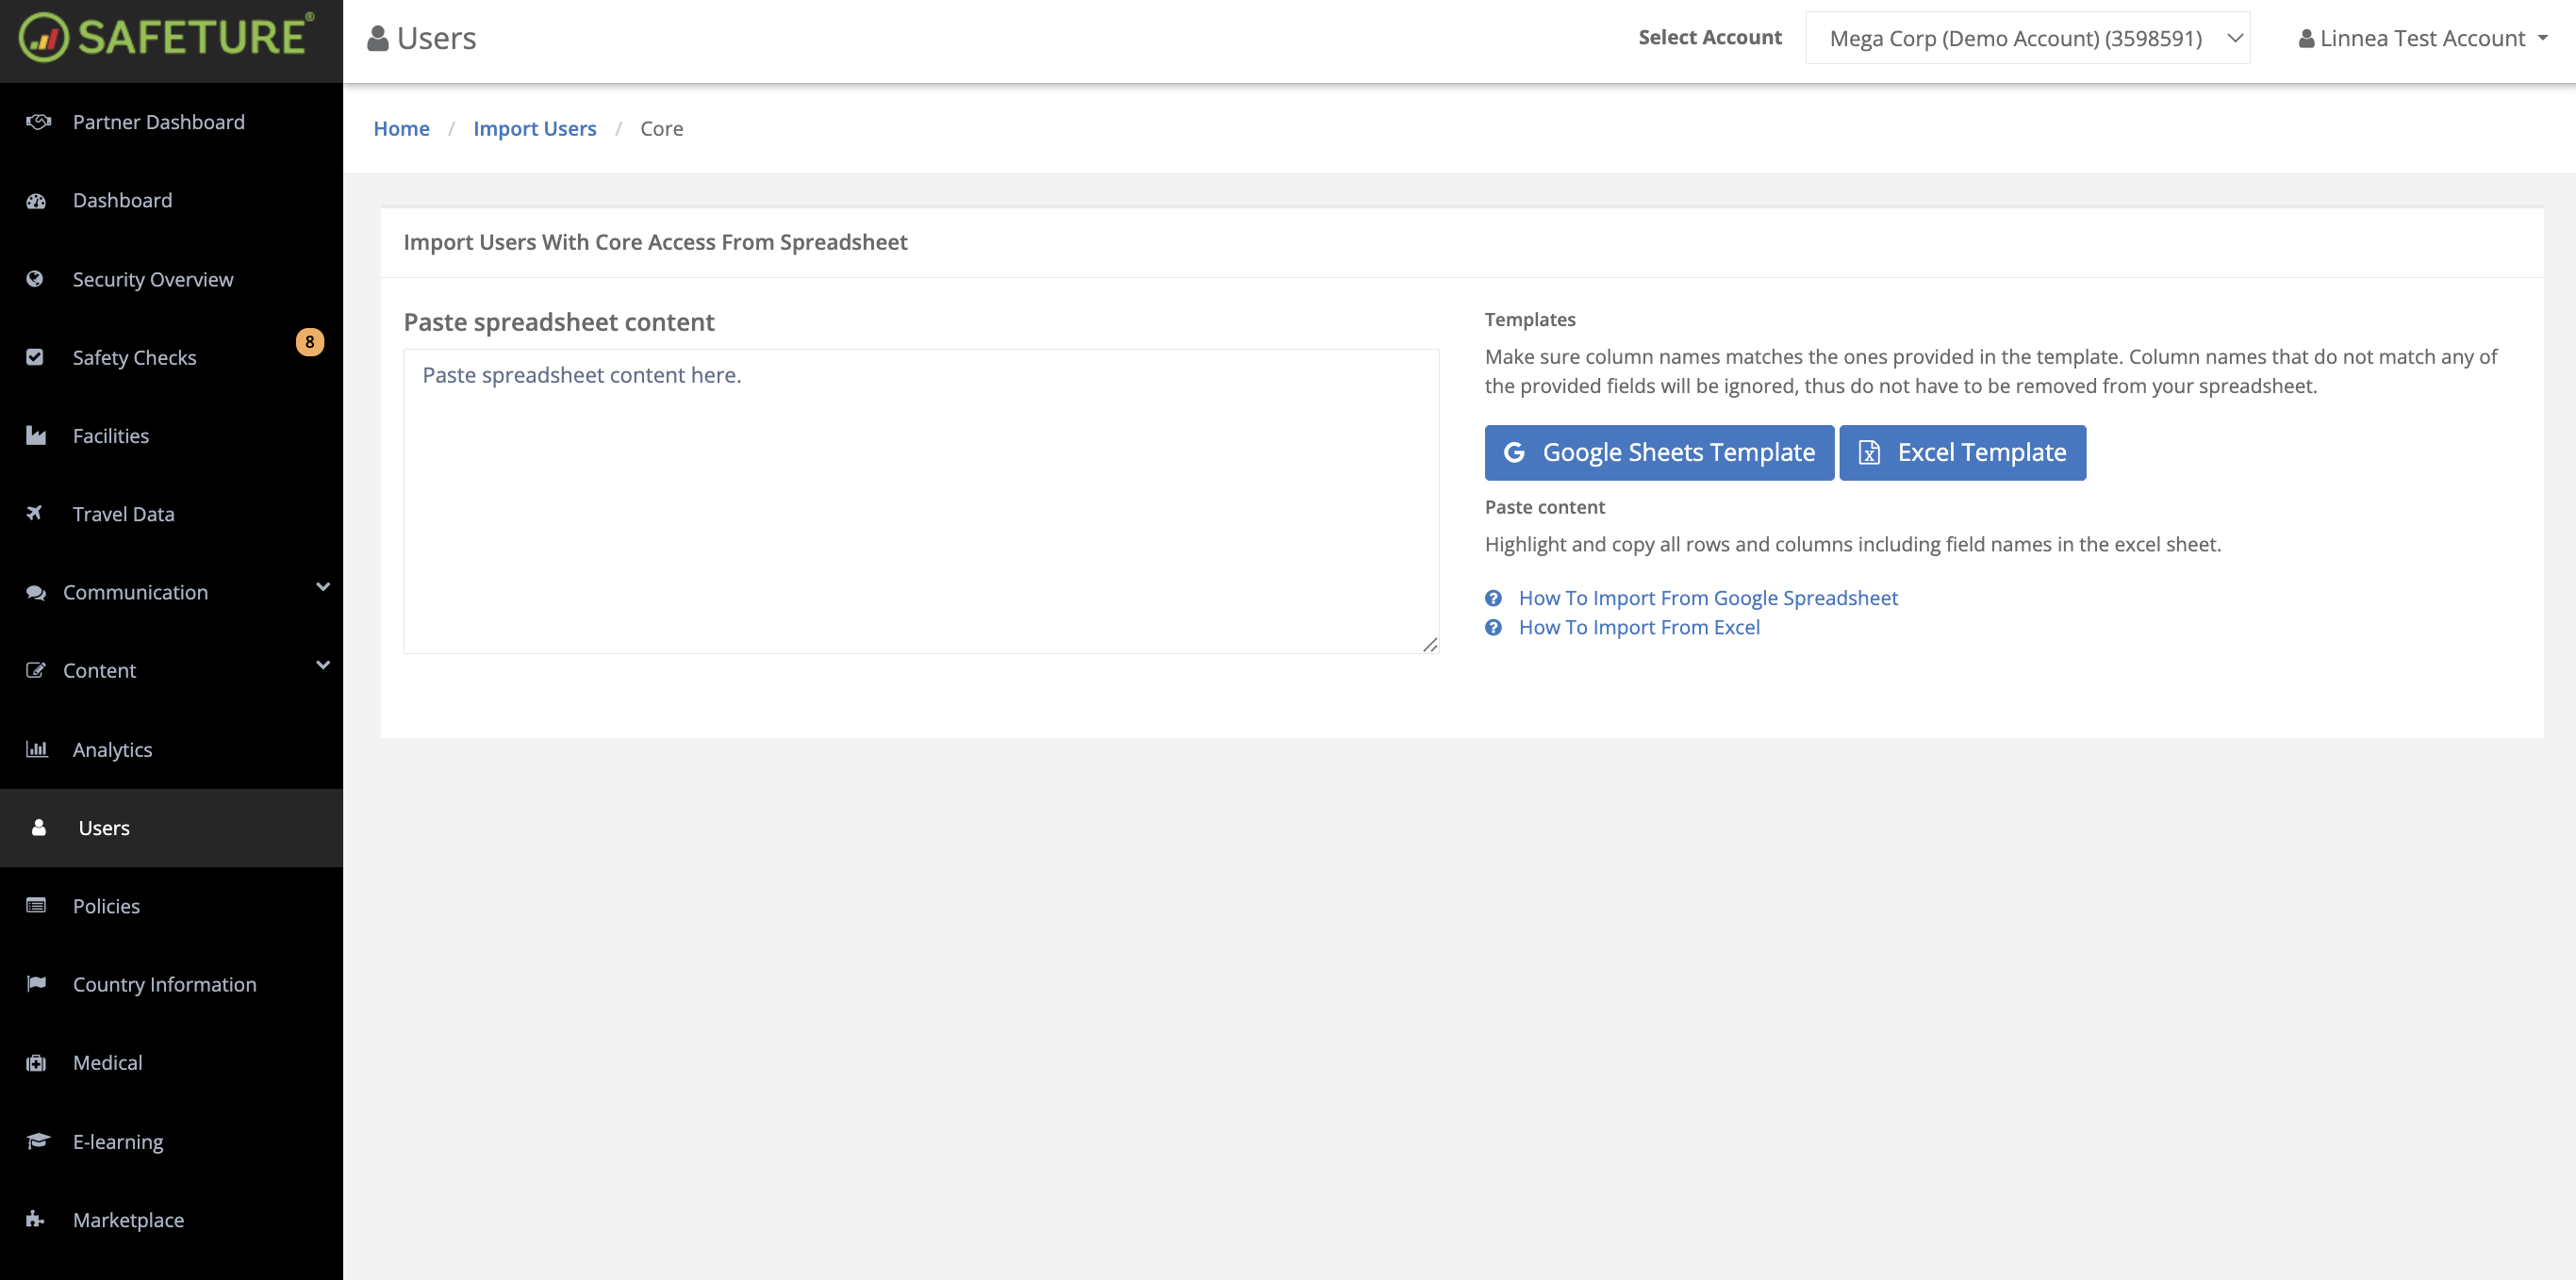
Highlight and copy all rows and columns, including field names, from the spreadsheet.
Paste the Spreadsheet Data into the portal's designated field.
Review the imported data for any errors and make necessary corrections. Once all information is correct, click “Invite Users” to complete the process.